
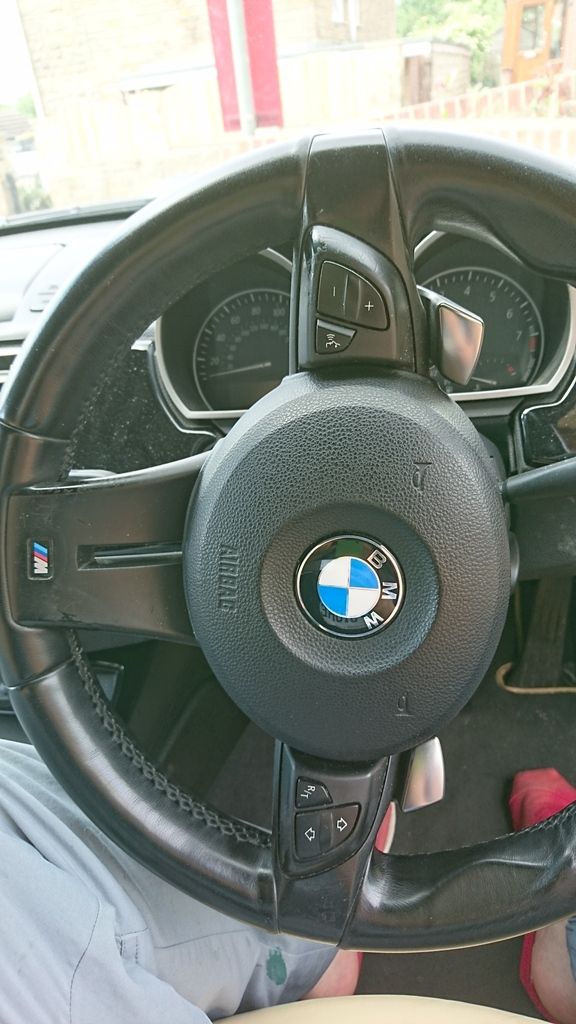
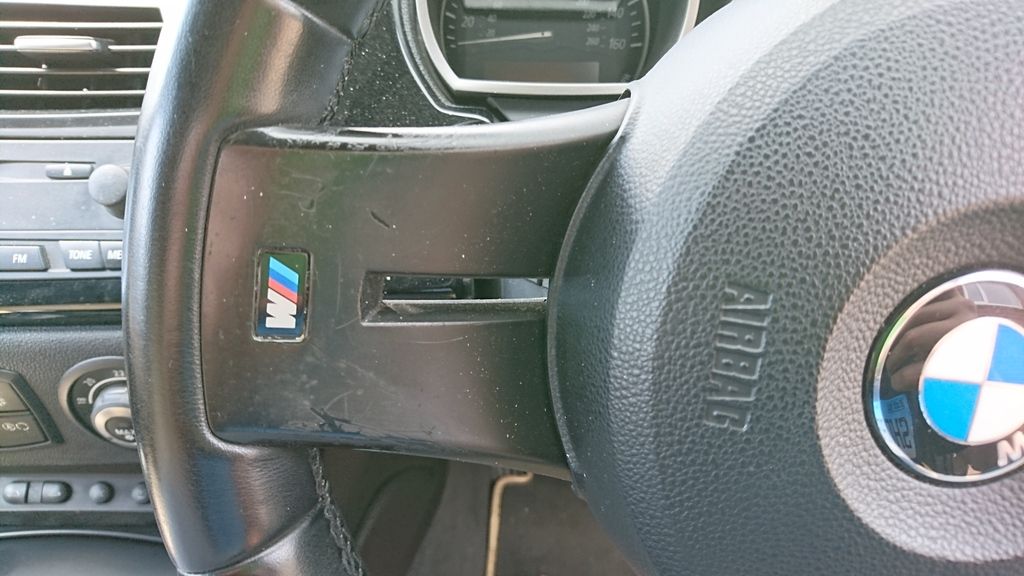
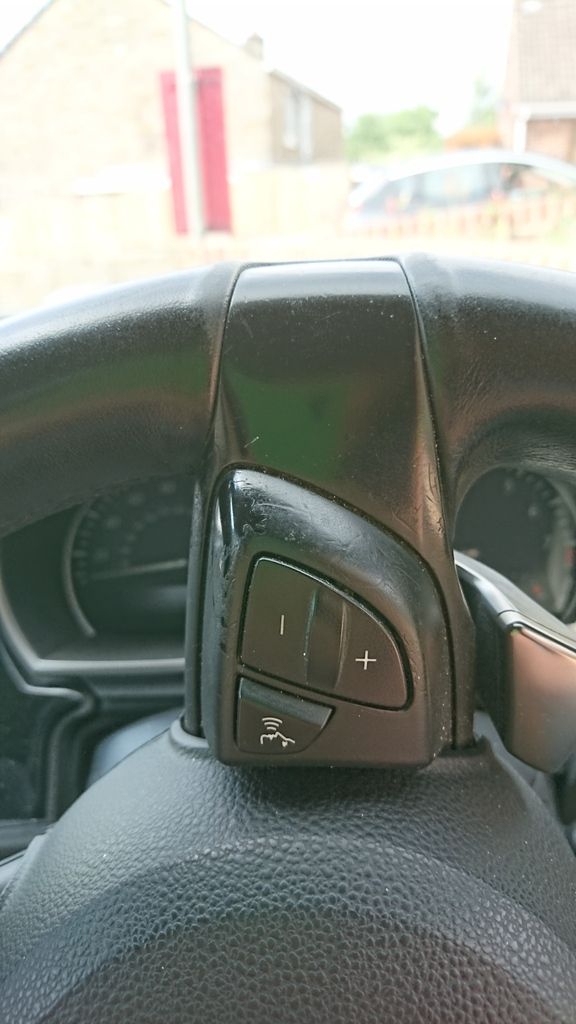
I'm sure we've all got a couple of jobs on our cars that we've not yet got round to sorting.. Well this is mine and it's been something I've been meaning to do since I got the car a year ago! The trims on the steering wheel look a mess and really let down the interior but worries about removing the airbag always put me off... until today
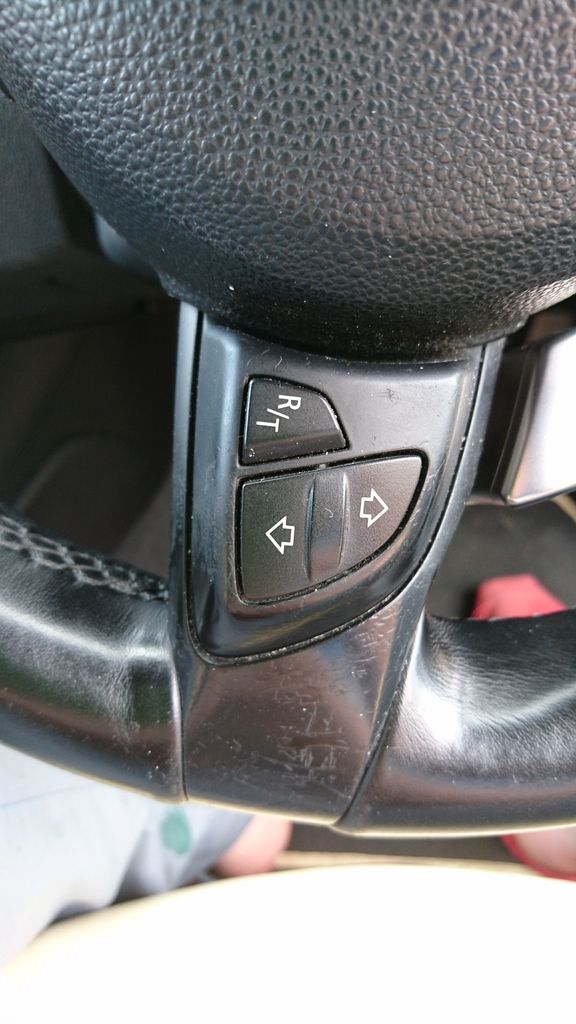
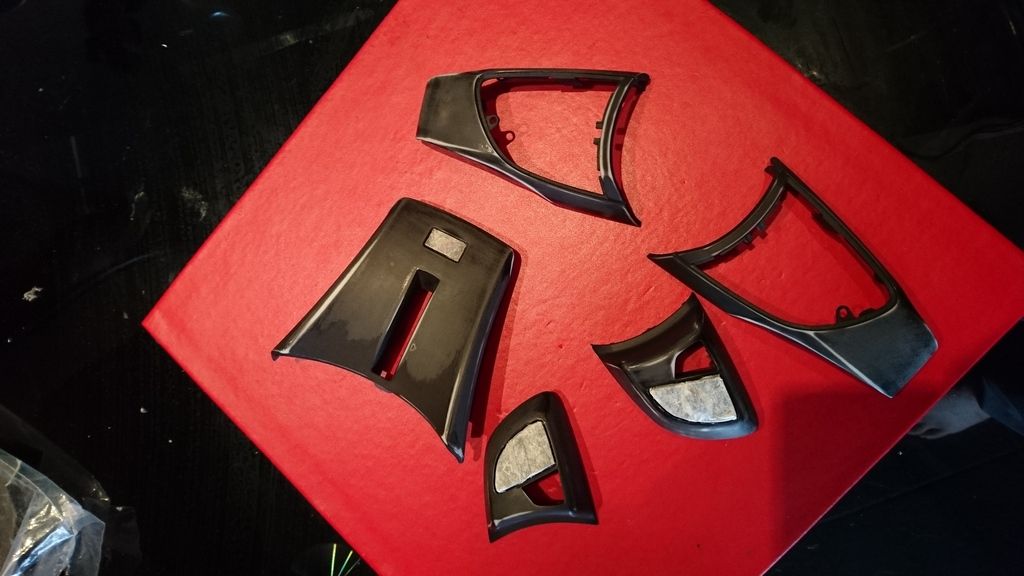
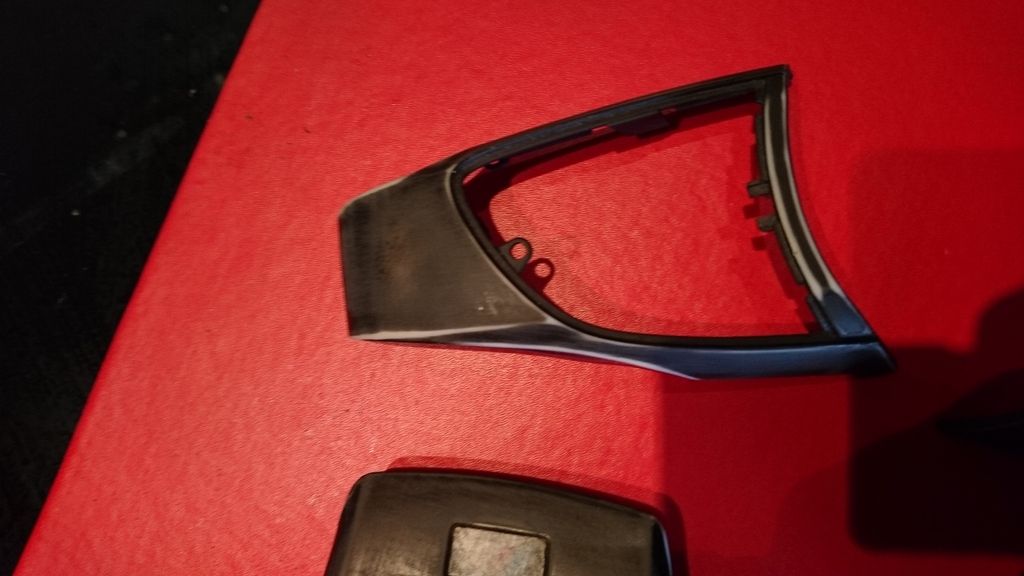
So this is the mess I'm starting with
[IMG]http://i1375.photobucket.com/albums/ag4 ... qg14mk.jpg[/IMG]
[IMG]http://i1375.photobucket.com/albums/ag4 ... gmuazm.jpg[/IMG]
[IMG]http://i1375.photobucket.com/albums/ag4 ... lrzdn0.jpg[/IMG]
[IMG]http://i1375.photobucket.com/albums/ag4 ... hrxoel.jpg[/IMG]
Not joined yet? Register for free and enjoy features such as alerts, private messaging and viewing latest posts and topics.
My steering wheel refurbishment
-
85genius
- Senior Member

- Posts: 1857
- Joined: Wed Jun 24, 2015 2:20 pm
My steering wheel refurbishment
Audi quattro driver 
NOW SOLD - Ruby Black 3.0 SI Roadster
Previous - E85 2.5 Ti Silver - See avatar photo - R.I.P Destroyed by a Tranny
NOW SOLD - Ruby Black 3.0 SI Roadster
Previous - E85 2.5 Ti Silver - See avatar photo - R.I.P Destroyed by a Tranny
-
85genius
- Senior Member
- Posts: 1857
- Joined: Wed Jun 24, 2015 2:20 pm
My steering wheel refurbishment
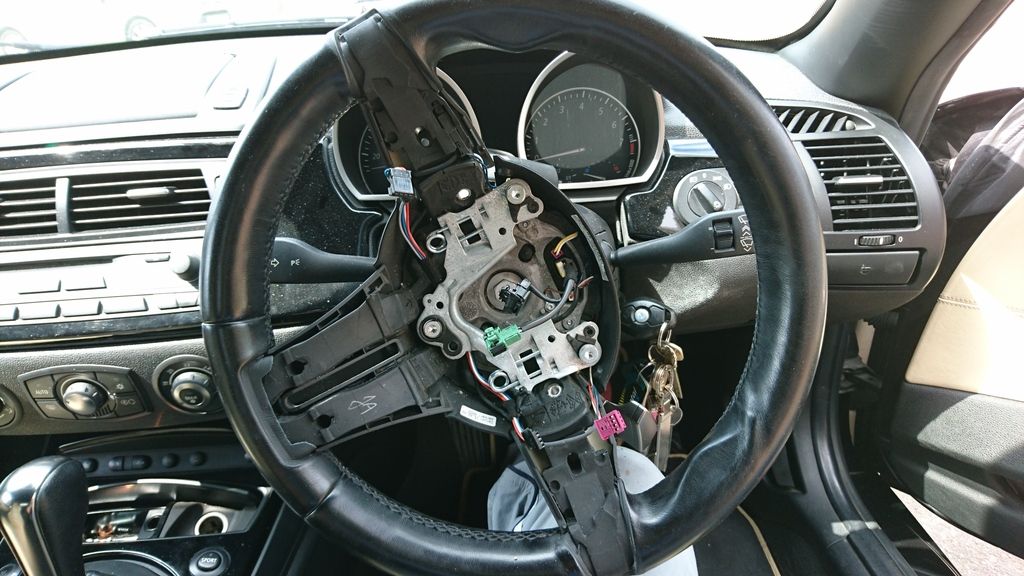
Removing the airbag was more difficult than expected, I read through a couple of guides watched some YouTube videos and then spent 20 minutes struggling and swearing! I was almost ready to give in but one last go and I got one side unclipped! You would expect the second side to be easy after that but no, another 15 minutes of swearing at myself before I finally released the second spring
[IMG]http://i1375.photobucket.com/albums/ag4 ... rbuopj.jpg[/IMG]


[IMG]http://i1375.photobucket.com/albums/ag4 ... rbuopj.jpg[/IMG]
Audi quattro driver
NOW SOLD - Ruby Black 3.0 SI Roadster
Previous - E85 2.5 Ti Silver - See avatar photo - R.I.P Destroyed by a Tranny
NOW SOLD - Ruby Black 3.0 SI Roadster
Previous - E85 2.5 Ti Silver - See avatar photo - R.I.P Destroyed by a Tranny
-
srhutch

- Moderator

- Posts: 26959
- Joined: Tue Jun 19, 2007 1:22 pm
- Location: East Sussex, UK
- Contact:
My steering wheel refurbishment
Done mine again recently. Airbag clips are easy when you know how. Flat bladed screwdriver is best with blade horizontal.

-
85genius
- Senior Member
- Posts: 1857
- Joined: Wed Jun 24, 2015 2:20 pm
My steering wheel refurbishment
I watched the videos and thought I understood but it's knowing what to feel for that's the hard thing, pretty sure mine have been done before as there were a good few layers of rubberised paint on the side pieces and one of the clips on the back of the airbag was bent
Audi quattro driver
NOW SOLD - Ruby Black 3.0 SI Roadster
Previous - E85 2.5 Ti Silver - See avatar photo - R.I.P Destroyed by a Tranny
NOW SOLD - Ruby Black 3.0 SI Roadster
Previous - E85 2.5 Ti Silver - See avatar photo - R.I.P Destroyed by a Tranny
-
dgm
- Senior Member
- Posts: 1056
- Joined: Thu Jul 26, 2007 3:02 am
- Location: Glasgow, UK
My steering wheel refurbishment
Looking at the Pelican Parts how to photos shows you what you're trying to release and makes it straightforward to release the airbag. I found a T20 torx driver to be ideal for the job.
06 Z4MC, Sapphire black, Aero sideskirts, BMW strutbrace, CSL's, Remus back boxes, Intravee and Alpine DAB
-
85genius
- Senior Member
- Posts: 1857
- Joined: Wed Jun 24, 2015 2:20 pm
My steering wheel refurbishment
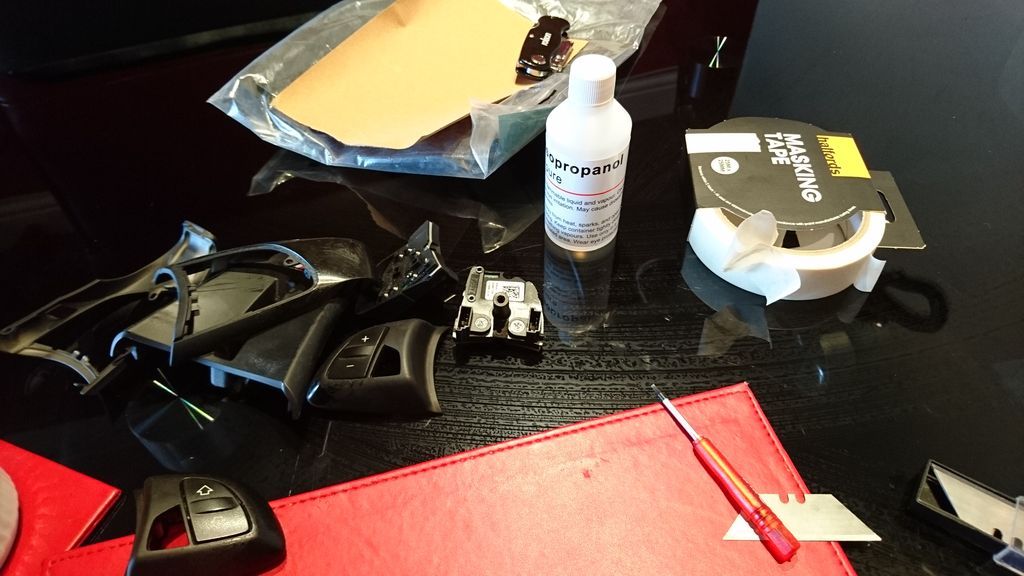
All the bits ready on my kitchen table [IMG]http://i1375.photobucket.com/albums/ag4 ... kptbw.jpeg[/IMG]
And after plenty of alcohol (rubbing not drinking unfortunately) and a very light sanding they are prepared for painting
[IMG]http://i1375.photobucket.com/albums/ag4 ... wl1rmo.jpg[/IMG]
[IMG]http://i1375.photobucket.com/albums/ag4 ... evjfnj.jpg[/IMG]
And after plenty of alcohol (rubbing not drinking unfortunately) and a very light sanding they are prepared for painting
[IMG]http://i1375.photobucket.com/albums/ag4 ... wl1rmo.jpg[/IMG]
[IMG]http://i1375.photobucket.com/albums/ag4 ... evjfnj.jpg[/IMG]
Audi quattro driver
NOW SOLD - Ruby Black 3.0 SI Roadster
Previous - E85 2.5 Ti Silver - See avatar photo - R.I.P Destroyed by a Tranny
NOW SOLD - Ruby Black 3.0 SI Roadster
Previous - E85 2.5 Ti Silver - See avatar photo - R.I.P Destroyed by a Tranny
-
85genius
- Senior Member
- Posts: 1857
- Joined: Wed Jun 24, 2015 2:20 pm
My steering wheel refurbishment
I was using a flat head one (the only driver I had long enough and thin enough for the hole) I had it in the right place but must have been slipping off the spring can see how a torx would be easier
Audi quattro driver
NOW SOLD - Ruby Black 3.0 SI Roadster
Previous - E85 2.5 Ti Silver - See avatar photo - R.I.P Destroyed by a Tranny
NOW SOLD - Ruby Black 3.0 SI Roadster
Previous - E85 2.5 Ti Silver - See avatar photo - R.I.P Destroyed by a Tranny
-
RyanB88
- Member

- Posts: 436
- Joined: Sun Apr 09, 2017 6:51 pm
My steering wheel refurbishment
I really need to do this on mine
How are you going to refurb the parts once they're off? What paint/sanding materials etc?
How are you going to refurb the parts once they're off? What paint/sanding materials etc?
Z4 now sold
Current - M235i
Current - M235i
-
85genius
- Senior Member
- Posts: 1857
- Joined: Wed Jun 24, 2015 2:20 pm
My steering wheel refurbishment
Prep was first masking the //M badge and 2 rocker switches. Then rubbing down each piece with isopropanol using some kitchen roll cut into small pieces, this was the longest part took just over half an hour to do all the bits. Aim was to get as much of the rubberised coating as possible off the plastics.
Then VERY lightly sanded with 320 grit, TBH would have preferred 600 but didn't gave any so just went really lightly. Then finished with a 1200 grit sandpaper. Once I was happy with the finish I then went over again with the ipa to remove any dust residue and then re masked the buttons as it had lifted slightly during prep.
Now in the process of spray painting, just used a (supposedly) hard wearing matt black mainly chosen because it is primer paint and lacquer all in one so just need to build up a few layers from the same can
Audi quattro driver
NOW SOLD - Ruby Black 3.0 SI Roadster
Previous - E85 2.5 Ti Silver - See avatar photo - R.I.P Destroyed by a Tranny
NOW SOLD - Ruby Black 3.0 SI Roadster
Previous - E85 2.5 Ti Silver - See avatar photo - R.I.P Destroyed by a Tranny
-
85genius
- Senior Member
- Posts: 1857
- Joined: Wed Jun 24, 2015 2:20 pm
My steering wheel refurbishment
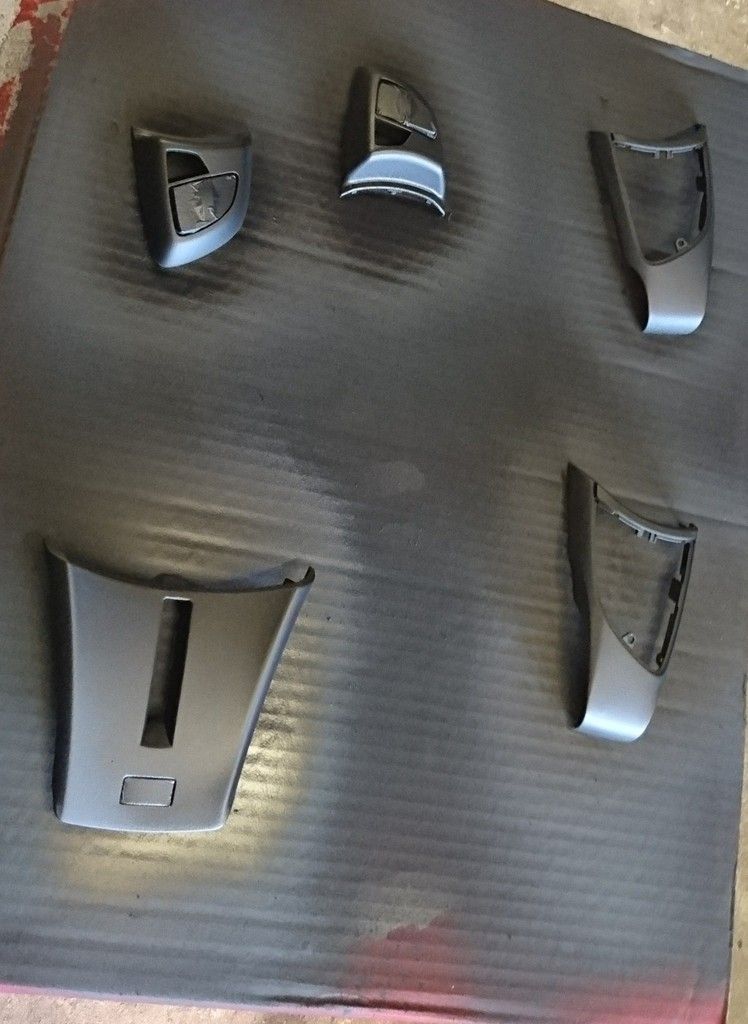
And that's the paint on!
[IMG]http://i1375.photobucket.com/albums/ag4 ... mgtyyw.jpg[/IMG]
Actually really pleased with how well they came out. Not perfect but never was gonna be done by rattle can in my garage. The improvement over what I had before is huge.
Ended up putting 5 thin coats of paint on so gonna give it plenty of time to dry before it all goes back together. Hopefully will have a photo of it all fitted and looking awesome by this time tomorrow
Audi quattro driver
NOW SOLD - Ruby Black 3.0 SI Roadster
Previous - E85 2.5 Ti Silver - See avatar photo - R.I.P Destroyed by a Tranny
NOW SOLD - Ruby Black 3.0 SI Roadster
Previous - E85 2.5 Ti Silver - See avatar photo - R.I.P Destroyed by a Tranny
-
85genius
- Senior Member
- Posts: 1857
- Joined: Wed Jun 24, 2015 2:20 pm
My steering wheel refurbishment
It's glorious weather and I want to go for a drive but my car is in pieces
Audi quattro driver
NOW SOLD - Ruby Black 3.0 SI Roadster
Previous - E85 2.5 Ti Silver - See avatar photo - R.I.P Destroyed by a Tranny
NOW SOLD - Ruby Black 3.0 SI Roadster
Previous - E85 2.5 Ti Silver - See avatar photo - R.I.P Destroyed by a Tranny
-
RyanB88
- Member
- Posts: 436
- Joined: Sun Apr 09, 2017 6:51 pm
My steering wheel refurbishment
Haha, typical! At least you won't get sunburnt!
Let us see the final results
Let us see the final results
Z4 now sold
Current - M235i
Current - M235i
-
srhutch
- Moderator
- Posts: 26959
- Joined: Tue Jun 19, 2007 1:22 pm
- Location: East Sussex, UK
- Contact:
My steering wheel refurbishment
TBH your original finish looks original, very much doubt they have been touched before.
This is how mine look now after spraying and applying a soft touch lacquer.
This is how mine look now after spraying and applying a soft touch lacquer.
- Attachments
-
- copy_IMAG0602.jpg (84.25 KiB) Viewed 1026 times
-
85genius
- Senior Member
- Posts: 1857
- Joined: Wed Jun 24, 2015 2:20 pm
My steering wheel refurbishment
Yours looks excellent!
Audi quattro driver
NOW SOLD - Ruby Black 3.0 SI Roadster
Previous - E85 2.5 Ti Silver - See avatar photo - R.I.P Destroyed by a Tranny
NOW SOLD - Ruby Black 3.0 SI Roadster
Previous - E85 2.5 Ti Silver - See avatar photo - R.I.P Destroyed by a Tranny
-
srhutch
- Moderator
- Posts: 26959
- Joined: Tue Jun 19, 2007 1:22 pm
- Location: East Sussex, UK
- Contact:
My steering wheel refurbishment
Yours look good as well.
Be interesting to see how long the lacquer on mine lasts. It's doing better than plastidip, that's for sure
Be interesting to see how long the lacquer on mine lasts. It's doing better than plastidip, that's for sure