First of all, my set up is Top Hifi DSP, sat nav but no CD changer...
Well today I was all prepared for a strip down of the rear interior of the car to locate my CD changer cables.
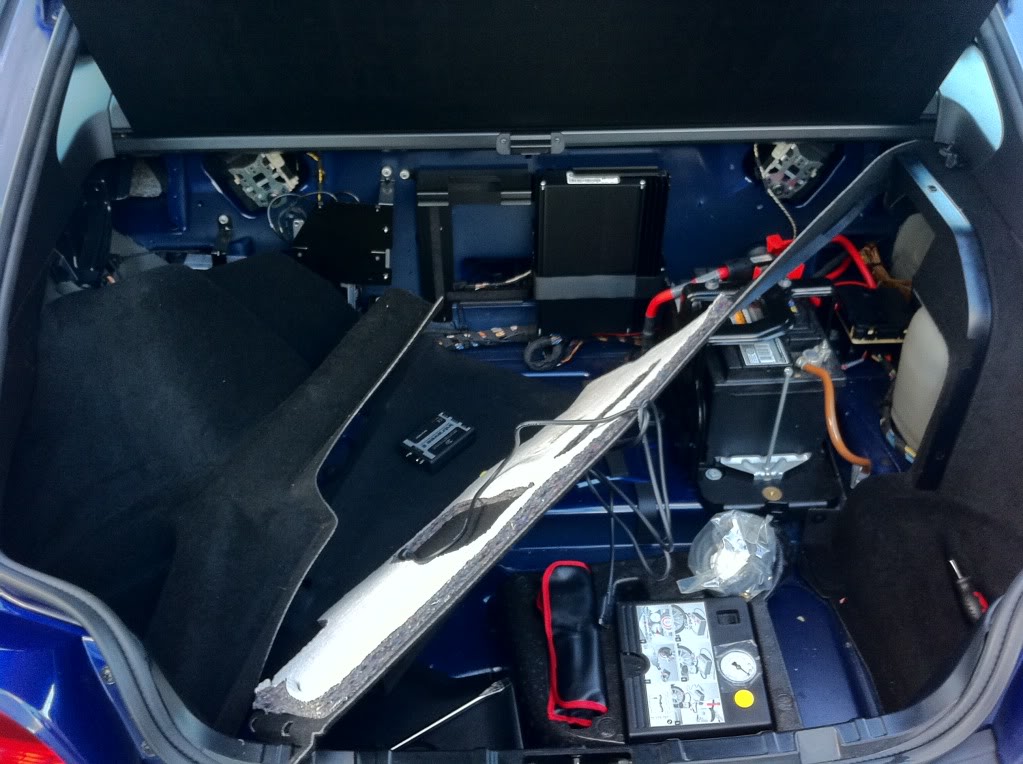
To start with I striped down the boot and rear firewall. I took the battery cover off, then lifted out the floor pan sections and then moved on to removing the left side wall carpet, after a good fight, I managed to release and pull this back far enough to operate on the rear firewall carpet, there's a fair few clips and fixings holding all the carpets down and at this stage in my head I was thinking 'if the boot carpet is this well secured, I'm not looking forward to the interior plastic trim panels!!'
So here's it stripped back:
Having stripped this back, I was pleased to find the CD changer leads were accessible through the boot! Happy days! :
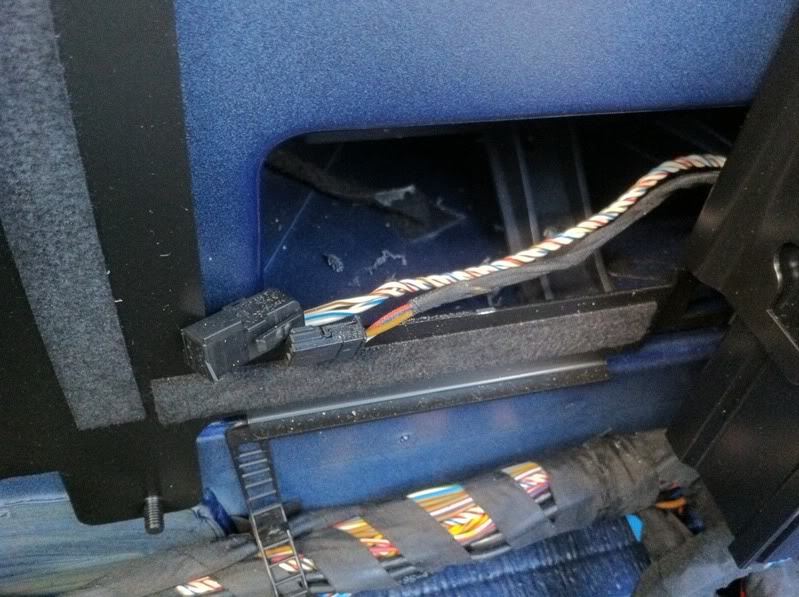
And that black plastic support leg you can see behind the cable is connected to the lower cubby hole storage box, which in my opinion should have been made narrower so you can pull it out through the inside of the car..... but anyway, that would make this install simple I guess and who would want that
I had a quick fag break at this stage and planned my route of attack, still unhappy with the prospect of stripping the interior down, I decided rather than do this, I'll drill through the lower cubby hole box to run the iPod lead. I drilled a pilot hole for starters (luckily it was the cubby hole and not the sat nav!)

I'm not too concerned with having the Intravee unit inside the car, so knew I only needed to drill a hole big enough to feed the connector on the end of the iPod docking cable which plugs into the KCA 420.
This connector is 13mm x 13mm. My first idea, as I had some 25mm capping brush grommets, was to use a 25mm spade drill to make the hole and then cap with said grommet. But as I started drilling, the awkward angle and if truth be told, the bluntness of the drill bit made this a pain in the arse. The pressure on the cubby hole tray kept pushing it forward and out of its holder and with no one here to help hold the box in place whilst I drilled the box from within the boot, I gave up and resorted to Plan B!
So Plan B was a 13mm drill bit (simply cause it's the only large and sharp drill bit I could find!) :

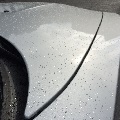
As the connector is 13mm x 13mm square and I'd drilled a 13mm circular hole, it took a bit of boring to open up the hole enough for the connector to pass through the hole, a 15mm or slightly larger drill or spade bit would be more suited of course.....but after a bit of playing I ended up with this:

And a view from the boot and the evidence of my first attempt with a 25mm spade bit. I think the 25mm grommet would have led to a neater finish but it's not a hole that anyone is going to see unless they stick their head down and look inside the cubby hole and I only damaged the plastic on the boot side of the cubby box, the inside is a clean hole and I sandpapered it to give it a tidy finish... so I'm not concerned:

So with this drilled, I fed the cable through and got the Intravee and KCA 420 set up to test:

All working fine! Tomorrow I need to spend some time, bolting the units up and refitting the boot carpets but I'm very happy with the Intravee and the install ended up being a lot less painful than I had feared, hopefully some may find this helpful.....here's a final picture from inside: