Not joined yet? Register for free and enjoy features such as alerts, private messaging and viewing latest posts and topics.

The squeak and creak from hell drove me to this.

User avatar
dario
Senior Member
Senior Member
Posts: 1382
Joined: Fri Jul 13, 2007 3:33 pm
Contact:

The squeak and creak from hell drove me to this.

Post by dario » Wed Sep 28, 2016 10:40 pm

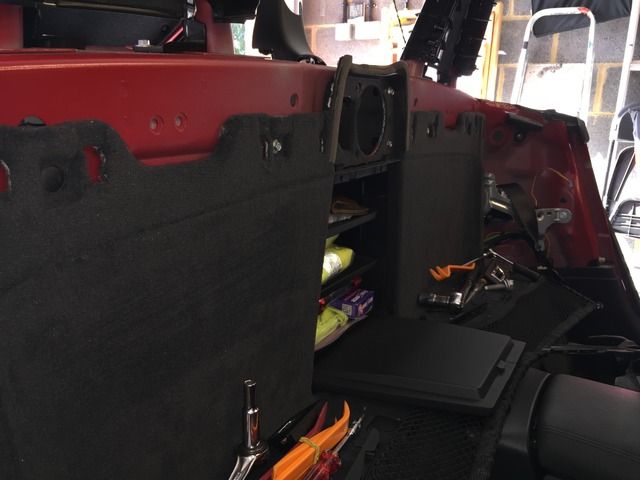
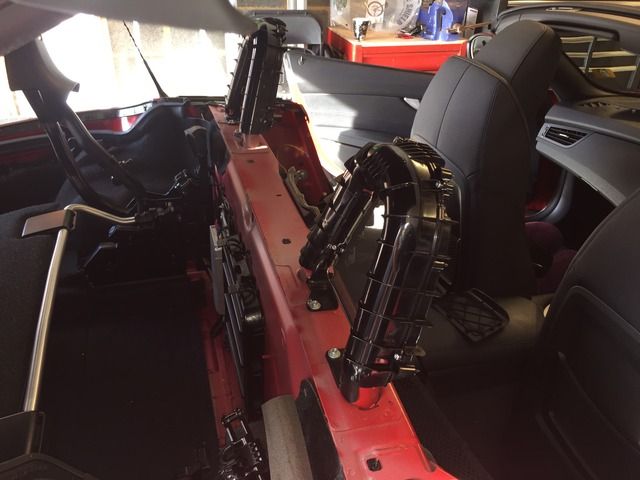
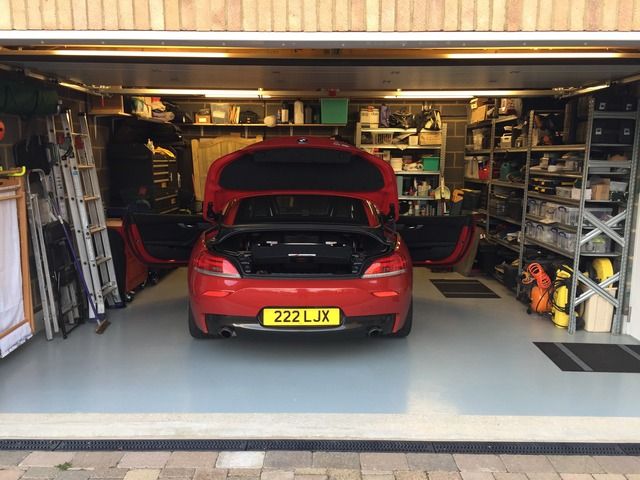
After a weekend driving around in North Wales a few weeks ago, the squeak and creak from just behind the drivers and passengers seats finally drove me to rip it all apart and fix it.

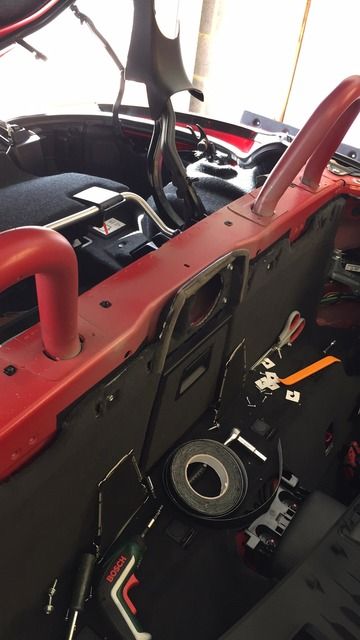
all the rear trim came off and i added some stick on anti squeak tape on everything i could.

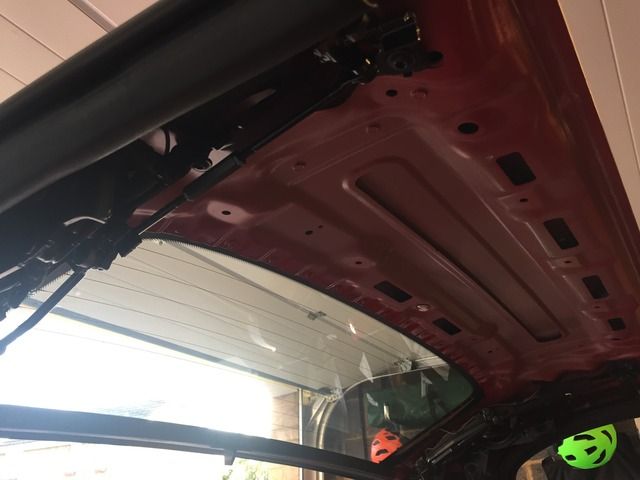
put it all back together and it still bloody squeezed and rattled. I then took the rear roof lining out.... could not find a problem. Eventually traced it down to the black nylon peg that locates in to the rear boot lid deck when closed.

greased it and and hey presto.

still, i know how they put the car together now LOL
Image
Image
ImageImage

very interesting all the same!

User avatar
jimbo1958
Lifer
Lifer
Posts: 6471
Joined: Wed Jun 09, 2010 10:49 pm
Location: Romancing Your Mum

The squeak and creak from hell drove me to this.

Post by jimbo1958 » Wed Sep 28, 2016 11:05 pm

Great work Dario.....sure this will help others. Must of been a relief to find it. :thumbsup:
Z4 e85 3.0 - GONE
Z4 e89 35i - GONE
Jaguar F Type V6s Roadster :driving:
Abarth 695 Rivale :driving:

User avatar
Marlon
Lifer
Lifer
Posts: 10899
Joined: Mon Jan 05, 2015 11:13 am
Location: Lancs.
Contact:

The squeak and creak from hell drove me to this.

Post by Marlon » Wed Sep 28, 2016 11:08 pm

Thats what I call determination :o
Found it in the end, well done :thumbsup:
Image
Gone: 3.0si 2008 E85
911 997 Carrera S

craig3.2
Lifer
Lifer
Posts: 6396
Joined: Fri Jun 05, 2009 11:36 pm
Location: Ayrshire,Scotland

The squeak and creak from hell drove me to this.

Post by craig3.2 » Wed Sep 28, 2016 11:11 pm

Determination indeed....great job taking the car apart so much to get it found and sorted :thumbsup:
Image
Interlagos Blue M RDSTR,2008. Logic7 dsp Hifi;satnav,stubby,htd seats,etc,etc.
Black 2005 3.0i NOW SOLD(and missed)

john-e89
Lifer
Lifer
Posts: 11058
Joined: Tue Feb 10, 2015 10:27 pm

The squeak and creak from hell drove me to this.

Post by john-e89 » Wed Sep 28, 2016 11:19 pm

Good find Dario, what a performance though.

Thanks for posting, very useful info. :thumbsup:
M roady...OEM CSL’s, strut brace, Remus back boxes, ZHP
MR2 MK 2
E89 35i project car...mapped 365bhp, M4 stoppers & wheels, KWV3’s, H&R front ARB, M3 front arms, strut brace Eisenmann cat back race exhaust, VRSF downpipes inbound
E89 35is
G29

firebobby
Lifer
Lifer
Posts: 9537
Joined: Sat Jun 13, 2015 9:09 am
Location: South west Buckinghamshire

The squeak and creak from hell drove me to this.

Post by firebobby » Thu Sep 29, 2016 8:52 am

Wow, what an epic journey to stop a squeak, well done :thumbsup:
BMW Z4 30i 2003 auto 107's Whippy Toledo Blue
Beige M sport seats, wood dash
Toyota MR2 NA 1995
Triumph GT6 1972 (project)
Land Rover Discovery 1994 TDI (Tow car)
Mini 1000 1981

User avatar
Chris_D
Lifer
Lifer
Posts: 6615
Joined: Thu Apr 21, 2016 11:41 pm
Location: Mostly Holland. Sometimes UK.

The squeak and creak from hell drove me to this.

Post by Chris_D » Thu Sep 29, 2016 9:38 am

Wow! Hardcore!
I had a squeak on my e85 when the roof was down but not up so figured it was the different position of the roof mech or latching mech.
Sprayed everything with silicone and squeak disappeared. Result!
E85 3.0i roadie (03) 'Benny'. E93 320d M-Sport Cabrio (11) 'Bob'.
Image
'Always different, always the same.' John Peel on The Fall.

Maniac
Lifer
Lifer
Posts: 8202
Joined: Tue Oct 26, 2010 2:52 pm

The squeak and creak from hell drove me to this.

Post by Maniac » Thu Sep 29, 2016 12:16 pm

Oh my..

Out of interest how easy is the roof lining to remove?

I've had a jerky clamshell close for ages where the back clamshell moves over the top when closing the shift in weight makes the car bounce.

Looking at the mechanism it seems two rods go into the space under the front roof lining and I'm guessing there are dampers there that I'd like to take a look at.

User avatar
dario
Senior Member
Senior Member
Posts: 1382
Joined: Fri Jul 13, 2007 3:33 pm
Contact:

The squeak and creak from hell drove me to this.

Post by dario » Thu Sep 29, 2016 12:40 pm

The rear roof section is not so bad. You do need a panel removal tooto access the 4 of the 6 press in clips to ease them out by going in from the side. Whilst the roof lining mounting clips are glued in well, I would not trust them to stay put and not get ripped off, it took about 10 minutes a good torch and balls of steel.

You can see the clips. They are white and the lining holder part is black. Clips are replaceable if you damage them. The black bit of trim that runs down the sue of the rams in located in to the bottom with a push in lug on each side.

Btw it sounds like you have air in the hydraulic system.

User avatar
MACK
Lifer
Lifer
Posts: 3600
Joined: Mon Jun 15, 2015 11:38 am
Location: Manchester

The squeak and creak from hell drove me to this.

Post by MACK » Thu Sep 29, 2016 12:50 pm

Now thats single minded determination for you! Well done, glad you found it, I fear if you had failed in your quest you would be needing therapy about now! Would have been soul destroying to put it all back together knowing it had achieved nothing.
Silver 05 3.0i SE
Mods inc - F/L Xenons Clear Ind Rear Lights M Sport Seats & Wheel Eibach/B4 3.64 DIFF (SOLD)

White E89 20i M Sport
Mods inc- B12 kit, M3 Arms, 18" Zito 935's with PS4's, Decat & Remap, Switchable Exhaust Flap (SOLD)

Maniac
Lifer
Lifer
Posts: 8202
Joined: Tue Oct 26, 2010 2:52 pm

The squeak and creak from hell drove me to this.

Post by Maniac » Thu Sep 29, 2016 5:22 pm

dario wrote:The rear roof section is not so bad. You do need a panel removal tooto access the 4 of the 6 press in clips to ease them out by going in from the side. Whilst the roof lining mounting clips are glued in well, I would not trust them to stay put and not get ripped off, it took about 10 minutes a good torch and balls of steel.

You can see the clips. They are white and the lining holder part is black. Clips are replaceable if you damage them. The black bit of trim that runs down the sue of the rams in located in to the bottom with a push in lug on each side.

Btw it sounds like you have air in the hydraulic system.
Thanks for that. I'm not sure it's air, could be, the issue has always been there, like dampers should be there to take up the shift of weight. This is what it looks like, it's like the first movement puts momentum into the weight of the roof which then catches up before it jerks again into a smooth movement at the final close stage.


Bumpy
Senior Member
Senior Member
Posts: 1141
Joined: Tue Dec 27, 2011 12:13 am
Location: Whitby, Ontario, Canada

The squeak and creak from hell drove me to this.

Post by Bumpy » Thu Sep 29, 2016 6:09 pm

Thank goodness you don't have a mouse in your house.
:tumbleweed:

User avatar
dario
Senior Member
Senior Member
Posts: 1382
Joined: Fri Jul 13, 2007 3:33 pm
Contact:

The squeak and creak from hell drove me to this.

Post by dario » Thu Sep 29, 2016 6:29 pm

Maniac wrote:
dario wrote:The rear roof section is not so bad. You do need a panel removal tooto access the 4 of the 6 press in clips to ease them out by going in from the side. Whilst the roof lining mounting clips are glued in well, I would not trust them to stay put and not get ripped off, it took about 10 minutes a good torch and balls of steel.

You can see the clips. They are white and the lining holder part is black. Clips are replaceable if you damage them. The black bit of trim that runs down the sue of the rams in located in to the bottom with a push in lug on each side.

Btw it sounds like you have air in the hydraulic system.
Thanks for that. I'm not sure it's air, could be, the issue has always been there, like dampers should be there to take up the shift of weight. This is what it looks like, it's like the first movement puts momentum into the weight of the roof which then catches up before it jerks again into a smooth movement at the final close stage.

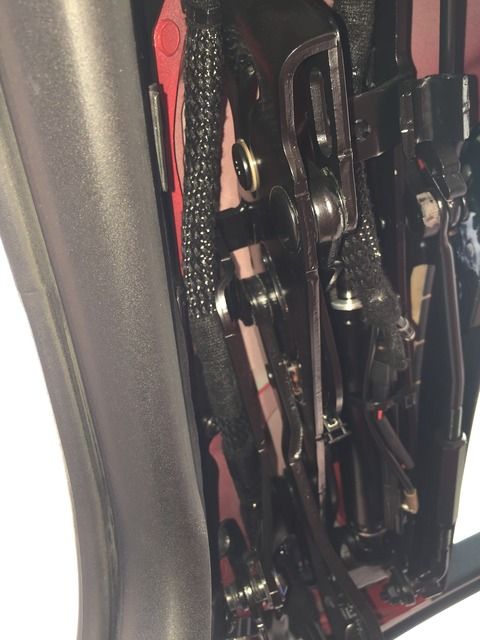
Ive had a look and pretty sure there are no dampers, just the hydraulic bi-directional pistons.

I look a picture of that area

Image

User avatar
dario
Senior Member
Senior Member
Posts: 1382
Joined: Fri Jul 13, 2007 3:33 pm
Contact:

The squeak and creak from hell drove me to this.

Post by dario » Thu Sep 29, 2016 6:30 pm

Phew,

All done and working with no excess bits and pieces lol

Image

Maniac
Lifer
Lifer
Posts: 8202
Joined: Tue Oct 26, 2010 2:52 pm

The squeak and creak from hell drove me to this.

Post by Maniac » Thu Sep 29, 2016 6:33 pm

Good to know there's no left overs!

The bars are small and go inside the front clamshell.. I can't see why they would unless to connect to a damper.

The bar is connected to the mech that moves on the rear clamshell movement and the bar moves inside the front roof clamshell roof beam.

Easier to see when it's in motion. I may get the tool and take it apart to see. I suspect my dampers are shot.

Post Reply