HID Xenon Aftermarket Upgrade
Posted: Tue Aug 30, 2011 2:36 pm
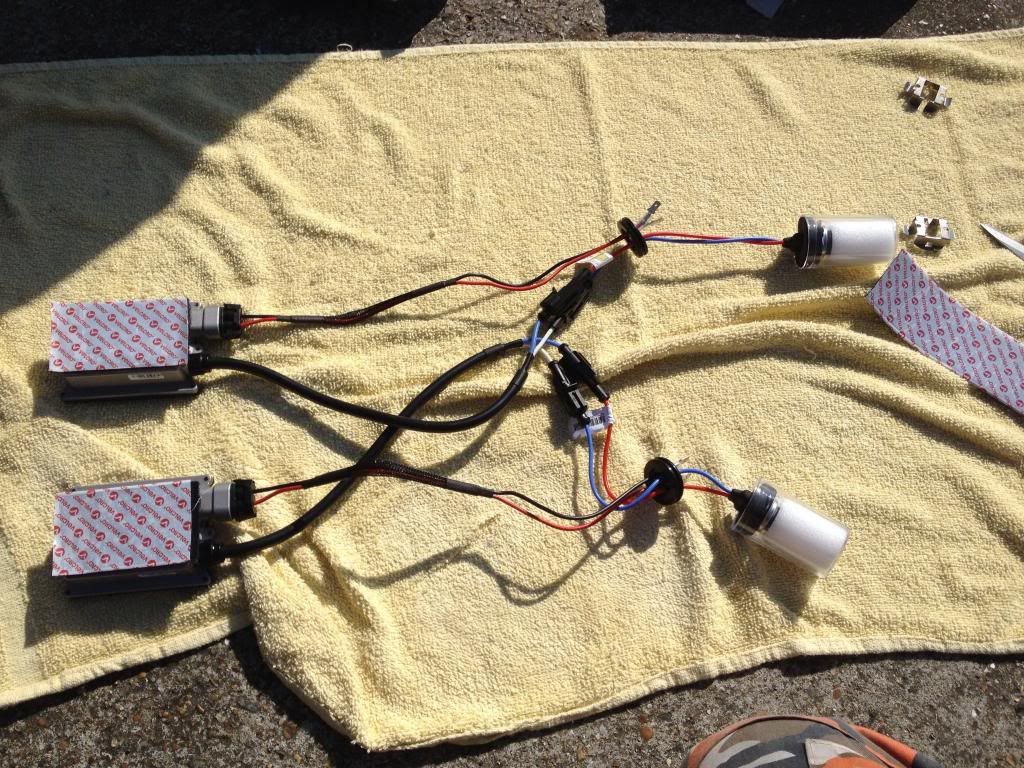
Last weekend I decided to upgrade the standard halogen lights on my Z4 Coupe to aftermarket HID Xenons.
After a lot of research looking into various kits and suppliers I decided to buy the following kit from HIDS Direct. I chose HIDs Direct as they're a well established supplier, they had good feedback in most of the forums, and they're kit was excellent value for money. At the time of writing this the kit cost me £69.99 (I actually bought the kit through their ebay shop where they had a dedicated Z4 listing and it worked out a few quid cheaper!). The reason for choosing this kit was that it had been installed by other forum members who had reported no errors or problems once installed.
http://www.hids-direct.co.uk/hid-conver ... p-453.html
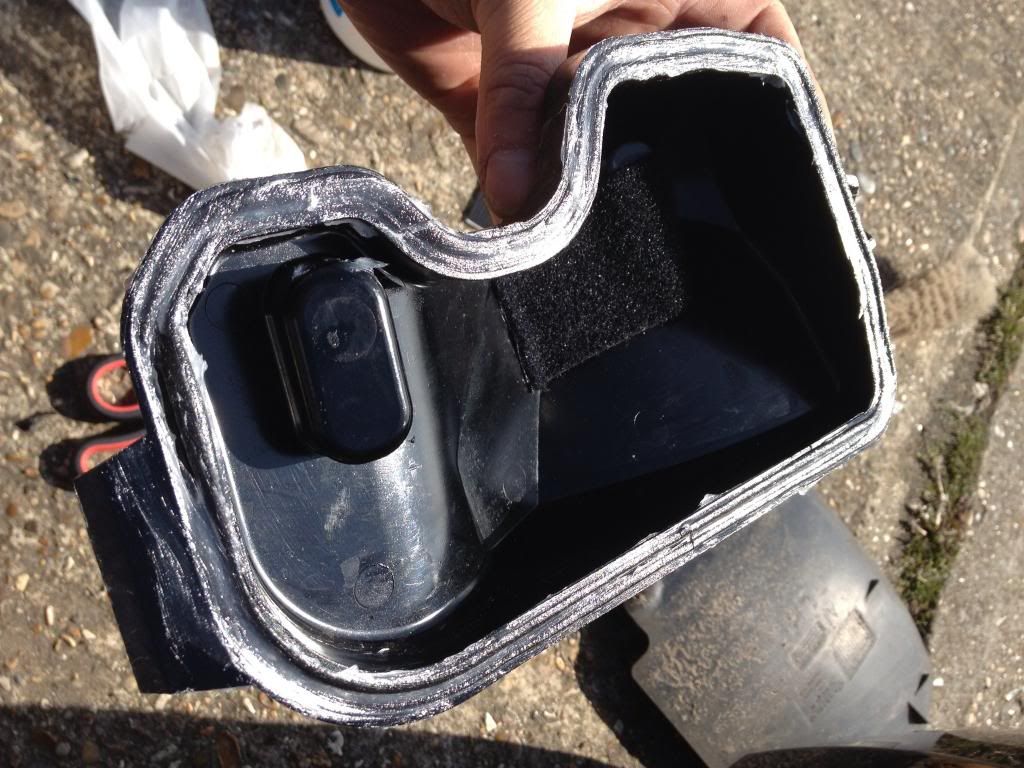
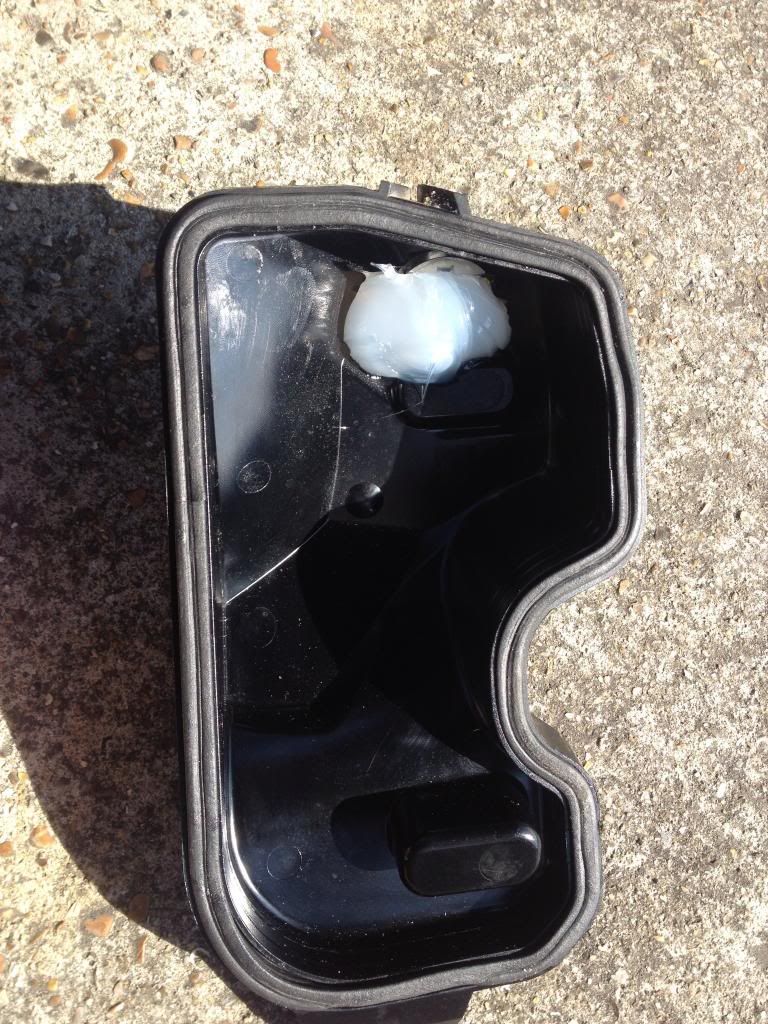
The other reason for choosing this kit was that because it came with mid-slim ballasts, these could actually be hidden and mounted inside the headlight housing. This meant the cover on the back of the headlights didn't need to be drilled or modified, it kept all the wiring and electrical components inside the headlight housing.
This isn't a full blown how-to on how to convert your halogen headlights over to xenons, I wanted to share my tips and tricks on fitting this kit to help others.
Tip 1 - Disconnect the battery. When working on the vehicles electrics, it's always a good idea. I would also suggest that before you fit the new bulb and ballast into place, you connect them up to the vehicles wiring harness and check they work. I was unfortunate enough to have one faulty bulb upon checking. However once I contacted the supplier they sent me out a new pair free of charge straight away.
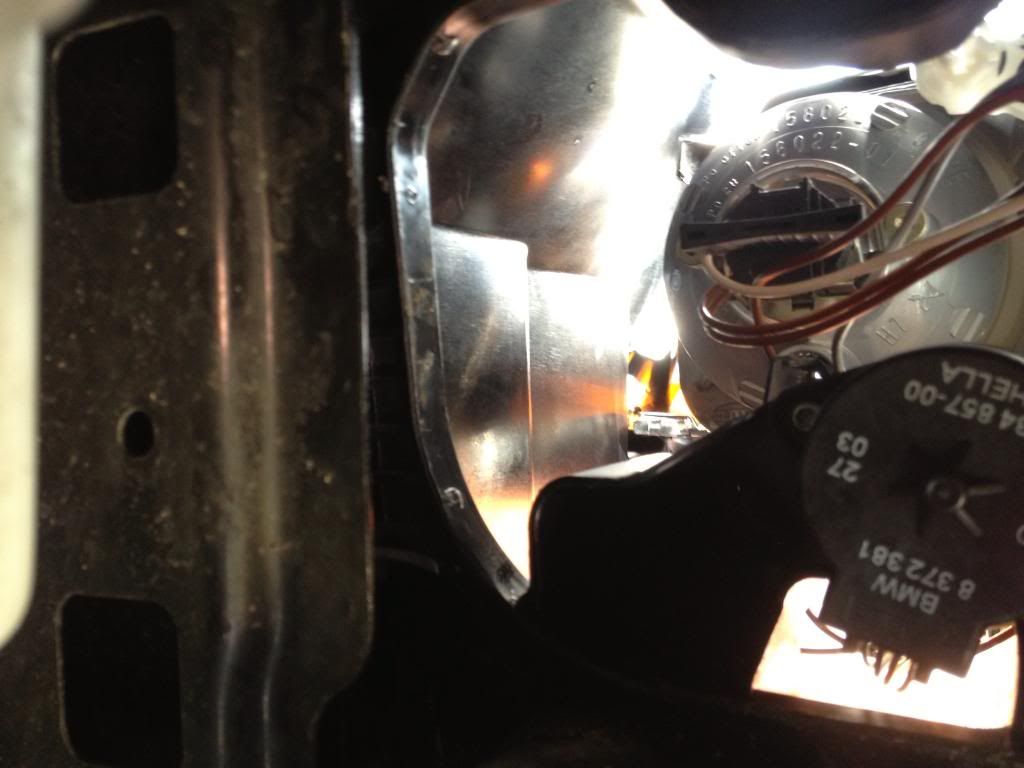
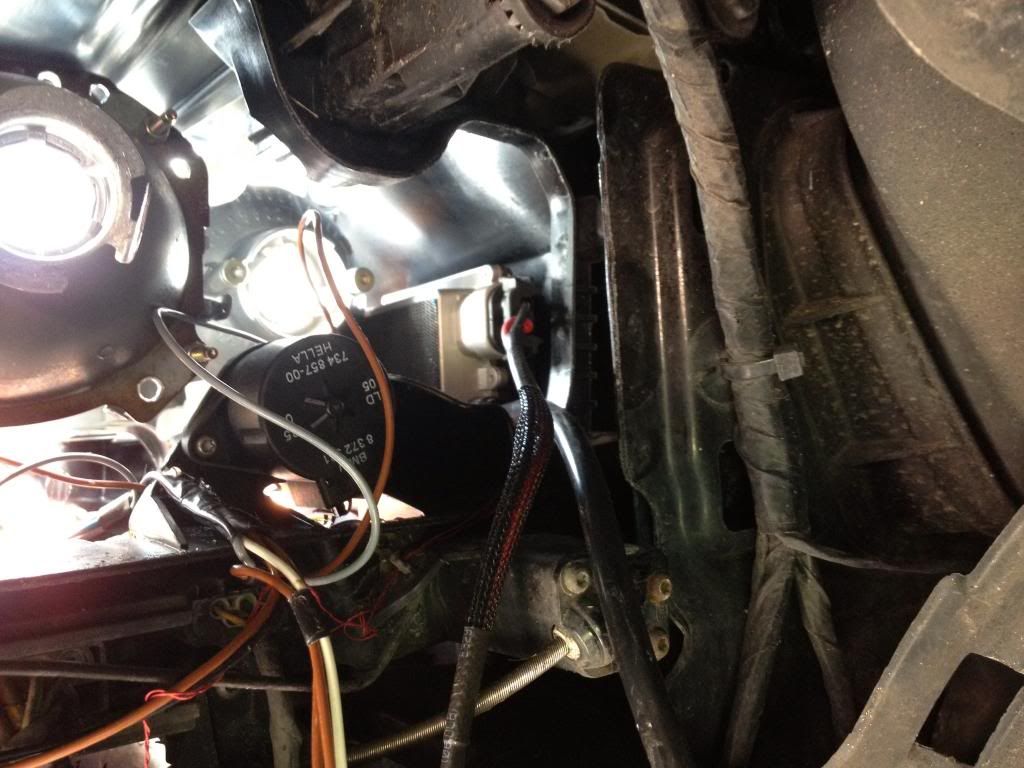
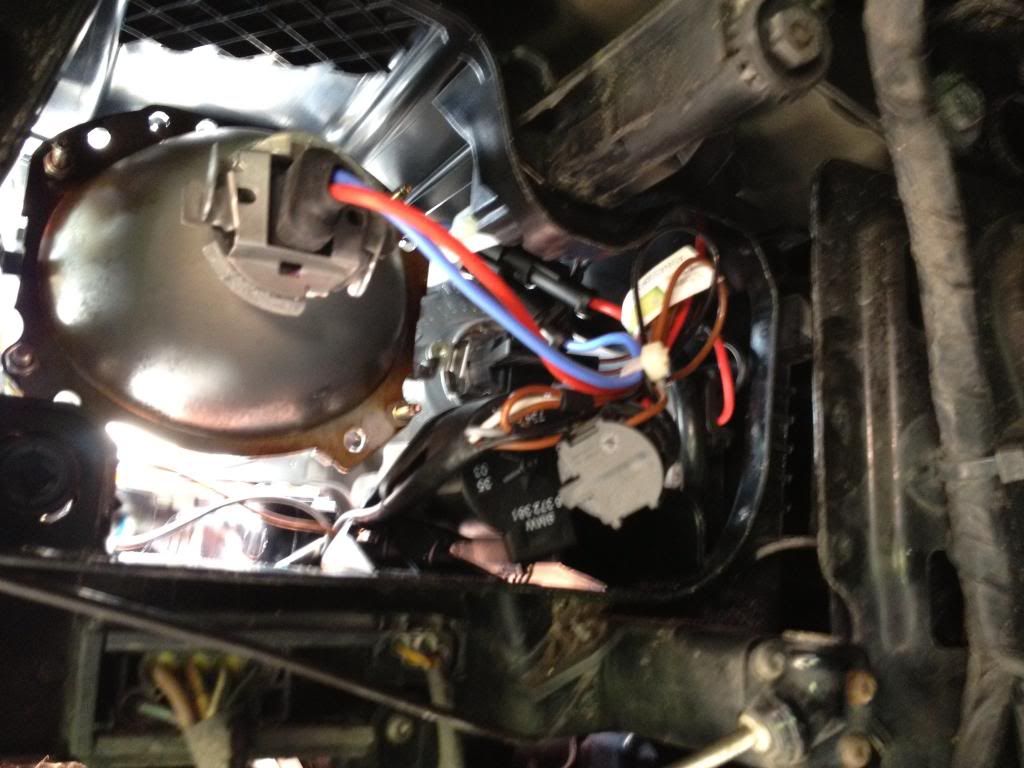
Tip 2 - Where to mount the ballast. Looking at the photo below, I've highlighted the area where the ballast can be mounted. The photo shows the rear of the nearside headlight with the cover removed. Highlighted with a red circle is where I mounted the ballast. I'll warn you now, it's not easy getting it into that gap, even harder once you've got sticky tape on the back of the ballast! I mounted my ballast using two number plate sticky pads.


Tip 3 - Remove the rubber grommet as it won't be needed, this also frees up the wires making it easier to mount. Doing this also allows you to pass the H7 clip over the wires.

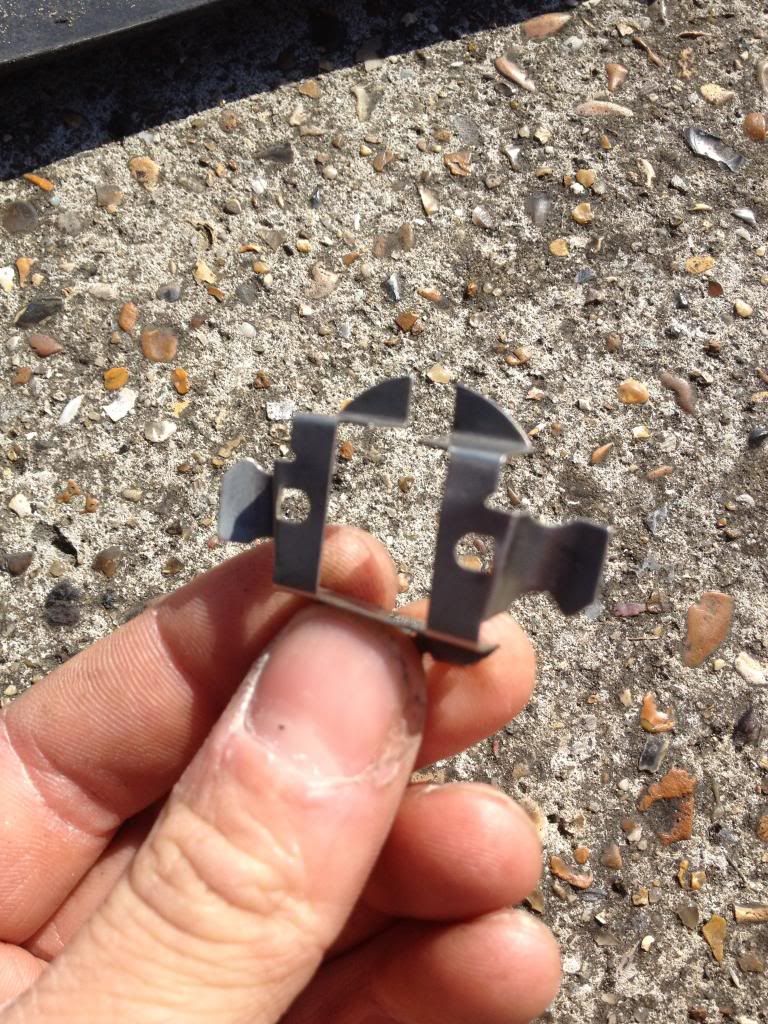
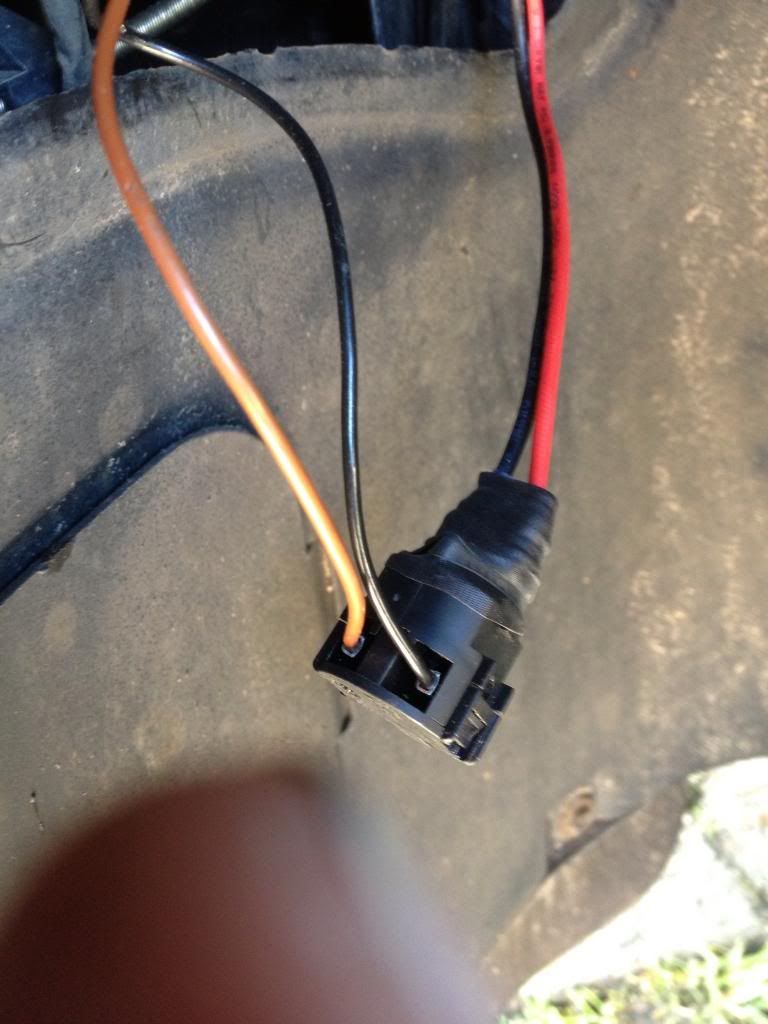
Tip 4 - The kit should come with 2 new projector H7 mounting clips as shown below. I decided not to use these as they don't fit very well with the Z4's headlights. Instead the original clips can be used. Pass the wires and connectors from the new H7 Xenon bulb through the connector. It's a very tight fit, but with a bit of persuasion they will fit!


Hope this helps someone at some point!
Bezza
After a lot of research looking into various kits and suppliers I decided to buy the following kit from HIDS Direct. I chose HIDs Direct as they're a well established supplier, they had good feedback in most of the forums, and they're kit was excellent value for money. At the time of writing this the kit cost me £69.99 (I actually bought the kit through their ebay shop where they had a dedicated Z4 listing and it worked out a few quid cheaper!). The reason for choosing this kit was that it had been installed by other forum members who had reported no errors or problems once installed.
http://www.hids-direct.co.uk/hid-conver ... p-453.html
The other reason for choosing this kit was that because it came with mid-slim ballasts, these could actually be hidden and mounted inside the headlight housing. This meant the cover on the back of the headlights didn't need to be drilled or modified, it kept all the wiring and electrical components inside the headlight housing.
This isn't a full blown how-to on how to convert your halogen headlights over to xenons, I wanted to share my tips and tricks on fitting this kit to help others.
Tip 1 - Disconnect the battery. When working on the vehicles electrics, it's always a good idea. I would also suggest that before you fit the new bulb and ballast into place, you connect them up to the vehicles wiring harness and check they work. I was unfortunate enough to have one faulty bulb upon checking. However once I contacted the supplier they sent me out a new pair free of charge straight away.
Tip 2 - Where to mount the ballast. Looking at the photo below, I've highlighted the area where the ballast can be mounted. The photo shows the rear of the nearside headlight with the cover removed. Highlighted with a red circle is where I mounted the ballast. I'll warn you now, it's not easy getting it into that gap, even harder once you've got sticky tape on the back of the ballast! I mounted my ballast using two number plate sticky pads.


Tip 3 - Remove the rubber grommet as it won't be needed, this also frees up the wires making it easier to mount. Doing this also allows you to pass the H7 clip over the wires.

Tip 4 - The kit should come with 2 new projector H7 mounting clips as shown below. I decided not to use these as they don't fit very well with the Z4's headlights. Instead the original clips can be used. Pass the wires and connectors from the new H7 Xenon bulb through the connector. It's a very tight fit, but with a bit of persuasion they will fit!


Hope this helps someone at some point!
Bezza