Sat Nav Retrofit Fitting Details
Posted: Sat Aug 02, 2008 10:49 pm
Finally got round to fitting Sat Nav to my Z4 this week. The most worrying part of course is cutting a large hole in the dashboard of a 18 month old car.
First Mistake.
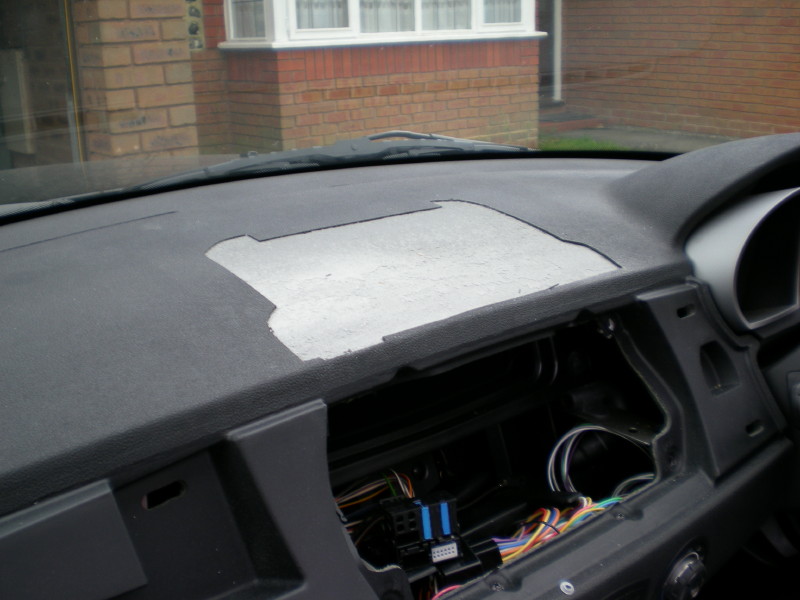
I used masking tape on the inside of the template, reason being I didnt want it to mark the dash or pull any of the matt finish off. Problem being that after you cut the dash the template falls off and you cant see where you actually cut. So re fix template with tape on outside after testing in obscure area, and re cut.

Peel of top layer to revel dense brittle foam, tried picking this off but wanst going to be easy. Found best idea was to go round the edge with knife ensuring foam cut down to plastic underdeath and then scrap off using 1/2" chisel, this took around 5 mins and was very easy
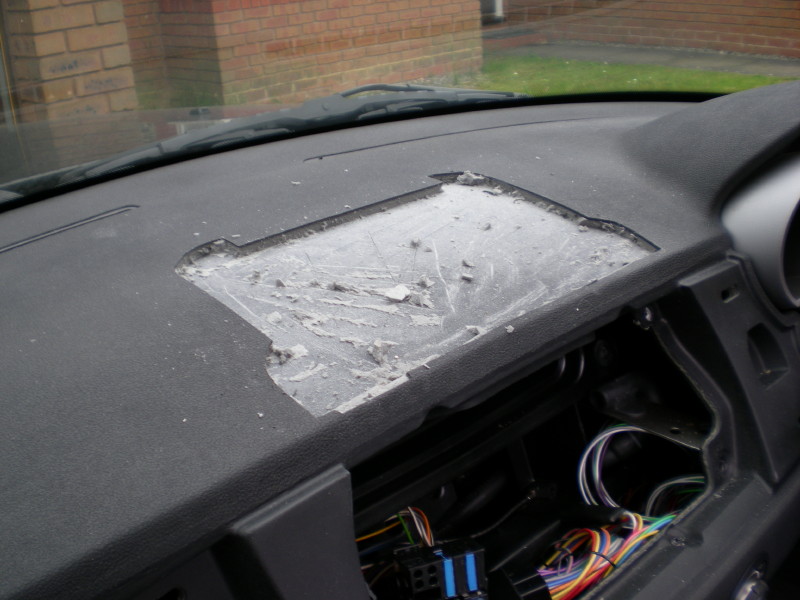
From other members fitting of Sat Nav there appeared to be two options for the next stage, use a Pad Saw (PVR) or Dremel (DHK), I chose the dremel option as the thought of taking 5 hours to cut the hole wasnt appealling. First cut along bottom edge near air vents was easy but side were difficult as body of dremel was getting in the way. Answer was to use a flexible drive. In total using bits 426 and a High speed router type cutter it took around 2 hours to complete. Better than PVR's but not as neat as DHKs.

Finished result with change of Dash trim to Carbon Fibre Leather.

I havent written anything about mounting the drive, as a number of members have already written about removing the rear panel. I would point out there is no need to remove the centre console to run the loom though, as although I took mine out to change the trim, I forgot to put the loom in before I put the console and rear panel back. You just need to remove the 3 fising screws on the left hand side of the console and run the cable above.
First Mistake.
I used masking tape on the inside of the template, reason being I didnt want it to mark the dash or pull any of the matt finish off. Problem being that after you cut the dash the template falls off and you cant see where you actually cut. So re fix template with tape on outside after testing in obscure area, and re cut.
Peel of top layer to revel dense brittle foam, tried picking this off but wanst going to be easy. Found best idea was to go round the edge with knife ensuring foam cut down to plastic underdeath and then scrap off using 1/2" chisel, this took around 5 mins and was very easy
From other members fitting of Sat Nav there appeared to be two options for the next stage, use a Pad Saw (PVR) or Dremel (DHK), I chose the dremel option as the thought of taking 5 hours to cut the hole wasnt appealling. First cut along bottom edge near air vents was easy but side were difficult as body of dremel was getting in the way. Answer was to use a flexible drive. In total using bits 426 and a High speed router type cutter it took around 2 hours to complete. Better than PVR's
Finished result with change of Dash trim to Carbon Fibre Leather.
I havent written anything about mounting the drive, as a number of members have already written about removing the rear panel. I would point out there is no need to remove the centre console to run the loom though, as although I took mine out to change the trim, I forgot to put the loom in before I put the console and rear panel back. You just need to remove the 3 fising screws on the left hand side of the console and run the cable above.
