
If your steering wheel is starting to look like this with the rubberised coating wearing off by the wheel and chunks missing this how to will show you how to sort it out and have it looking like new.
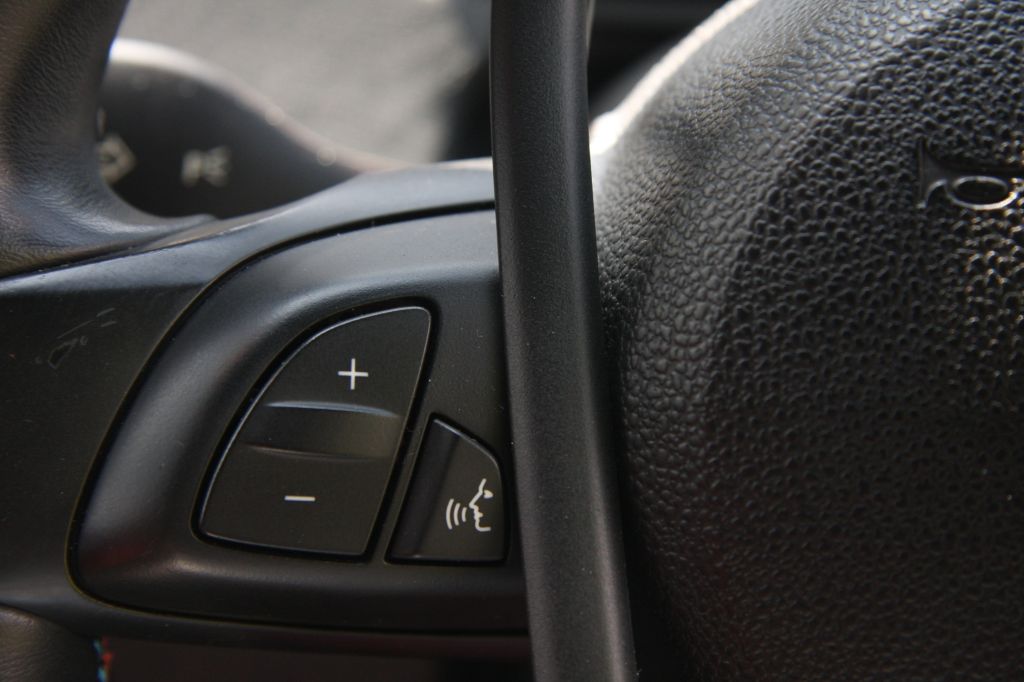
smooth/shiney spoke at edge of wheel and scratched and smooth/shiney around MFSW pod.

Scratches clearly visible.
First off disconnect the battery and allow 30 minutes before moving onto next step. This is to ensure the airbag is not fired accidentally.
Remove the airbag as per instructions below
http://tis.spaghetticoder.org/s/view.pl?1/08/15/34
Then remove the four torx screws, one on each side spoke and two on the bottom one. The fixings on the bottom one on mine snapped off and I seem to recall Ranski mentioning this before so seems to be a weak point, some super glue soon sorted that out though.
I wasn't sure how I was going to remove the scratches but luckily using IPA and rubbing with some pressure removed more of the existing coating allowing the scratched to be removed and feathering in the remaining coating. You could remove all if required, but that will take a long time and I can't see any benefit in doing so. At this stage you don't want to be able to feel the difference in the area that changes from one finish to the other.
Ensure you IPA all spokes to remove any oils, just rub lightly any that don't have any scratches.
Spoke ready for Painting.

The are four torx screws on the back of each MFSW pod, remove these and you can extract the smaller of the two switches and also two little inserts. These only fit one way so check before removal (it is obvious though). Mask up the remaining switch and prep with IPA.

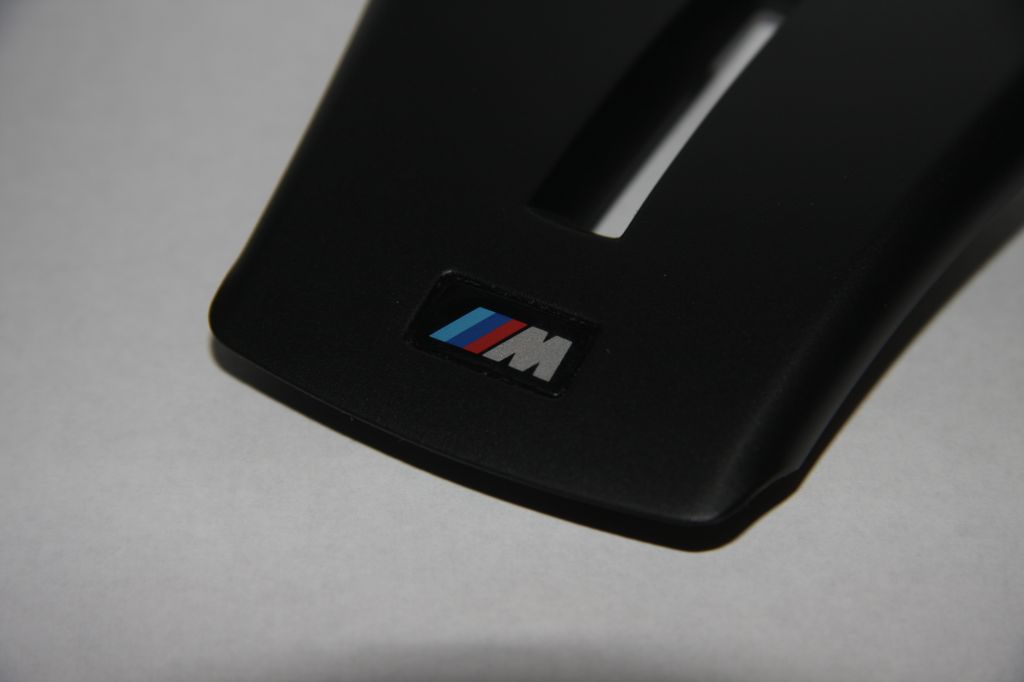
I covered the ///M badge with a bit of blue 3M masking tape and taking a new blade carefully cut out as below. It's best to use you finger to indent the tape as much as possible to help see where you need to cut. Take your time with this as you don't want to slip and scratch either the badge or spoke.

The rear spokes were heavily scratched and although I couldn't see or feel them it was worth doing them as they were off the car.

Spray following instruction on can. I did 3-4 coats allowing 30 minutes between each and a couple of hours after the last one before fitting. If you plan on driving the car I would allow longer before fitting to ensure fully set. Only apply thin costs, but if it does go wrong don't panic, let it dry and then peel it off.
I had one part that after the 1st coat I noticed a scratch I hadn't IPA'd enough. Using IPA I was easy able to remove the spray 30 minutes after the first coat.
Finished left spoke and MFSW pod

Close up of ///M badge after finishing.
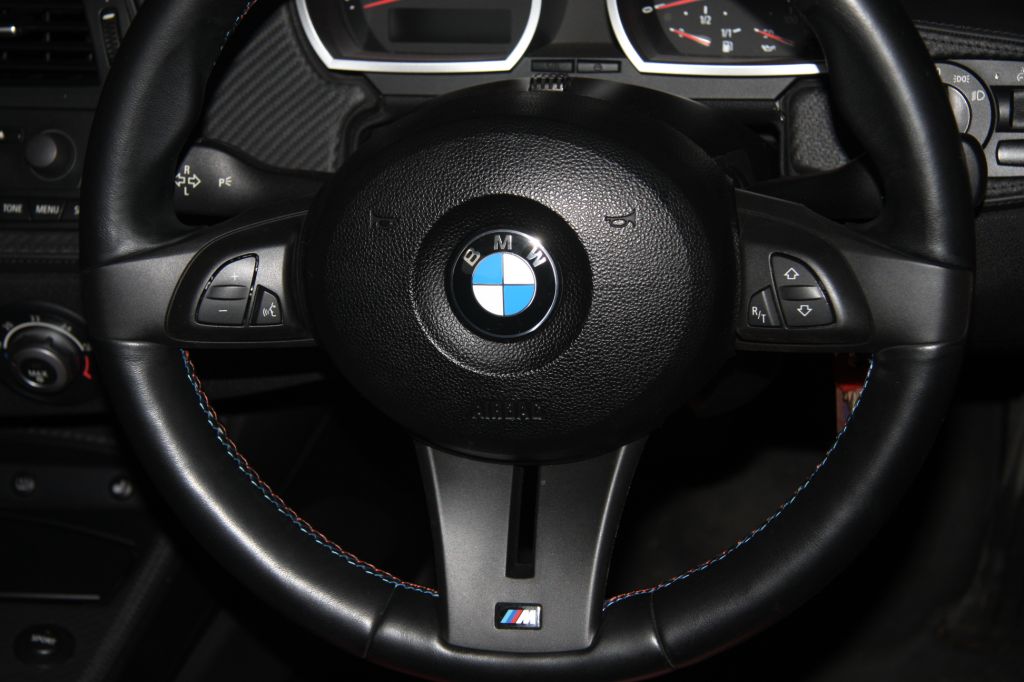
Fitting back in the car

Job done
It took me 24 hours in total, but if you can spray all the bits on one go you could do it in 6 hours or so. I did mine in 3 batches due to space limitations.
Only outstanding question is how well it will stand up to use. As my car is only used at weekend it may last for many years, hopefully somebody who uses their Z4 daily will do it soon and we will have a benchmark. If it doesn't hold up though I will try some acrylic Matt Black spray next time.