
This is something of a vanity post. I'm going to be doing a few mods over the coming months and this thread will detail the updates, what I've done and how. As far as I know I'm not doing anything new but if there are any gaps I'm more than happy to up together a How To. There will be a load of pictures, partly to show what I've done but also to show how easy some things are. As I have found out.
The mods will be mostly aimed at looks and sound. The one improvement in performance that I am going after is the handling, or rather the feel. As much as I believe the grip and corner speed have improved with a change to non run-flats, the steering has lost some of its edge, turn-in feel. I want that back, and some more!
I will also be collecting data along the way to see what the different changes to the car make to the performance. To make this clear though and am neither looking for nor expecting any gains its just some fun along the way!
I don't really have a deadline, but I'd like to get things finished by June in time for my trip to Italy in July. The mods aren't being done in the order of availability rather than rank of importance.
Thanks already to all the people that have given council, inspiration or advice
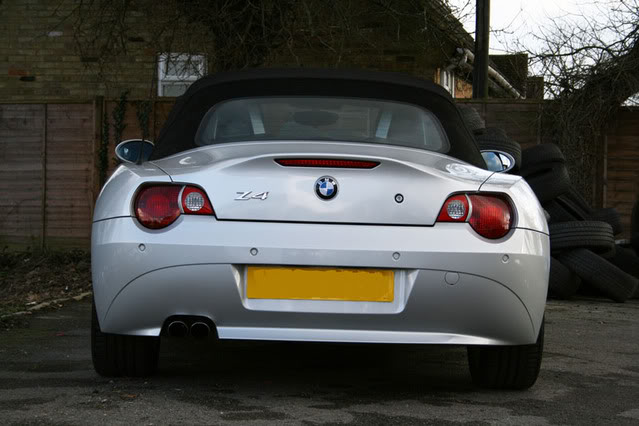
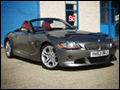
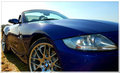
Here are a couple pictures of the starting point:


I apologise in advance for the poor writing