Update time again. I know its engine related again but I am on a role here to get this thing to look mint! Besides I just think the N54 engine is such a beautiful piece of machinery to look at!
So the plastics in the engine bay were driving me completely nuts, the airbox cover in particular was a bad one for me. and when I got a quote for a new one I almost fell over! +-R5700 then the ram air intake cover was around 2k or something. So obviously another plan needed to be made.
So here are the before and after shots.
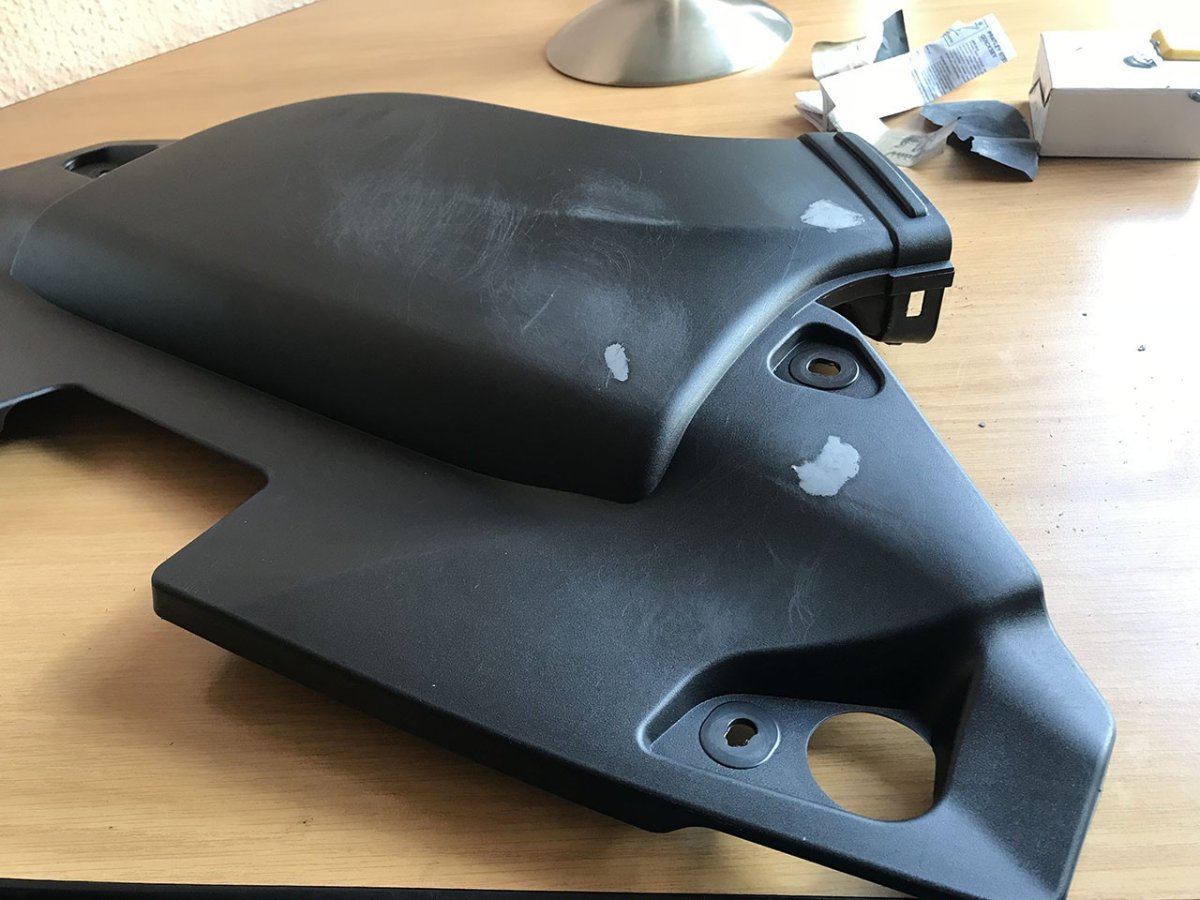
So this is the state it was in.

- img_5475_2292410032.jpg (138.61 KiB) Viewed 1834 times
some sanding with 1200grit sand paper. (got a helper to sand for me

)

- img_5478_3622428686.jpg (132.88 KiB) Viewed 1834 times
after the sanding, didn't want to sand it to a point of where I loose the texture of the plastic, just to the point of where you can no longer feel the scratches.

- img_5479_3136516357.jpg (136.12 KiB) Viewed 1834 times
Before

- img_5464_6876167729.jpg (140.57 KiB) Viewed 1834 times

- img_5465_5277723283.jpg (186.27 KiB) Viewed 1834 times
used pratly putty steel as a filler for the very deep scratches and then sanded it down.
- img_5481_4260224727.jpg (149.86 KiB) Viewed 1834 times
After all of this I sprayed with medical alcohol and wiped it down and then sprayed it with Dupli-color Vinyl (American spelling)
once sprayed I was left with a bit of a rough surface due to bad spray painting skills probably.
I then used a dishwashing sponge rough side to get rid of that rough finish and then wiped down with a microfiber towel which left me with a very smooth surface that looked OEM!
After the Z run I got back home and took a trip to builders warehouse and bought some meguiars plastic and rubber trim restorer and wiped the parts down and that really brought them to life.
And this is the finished product.
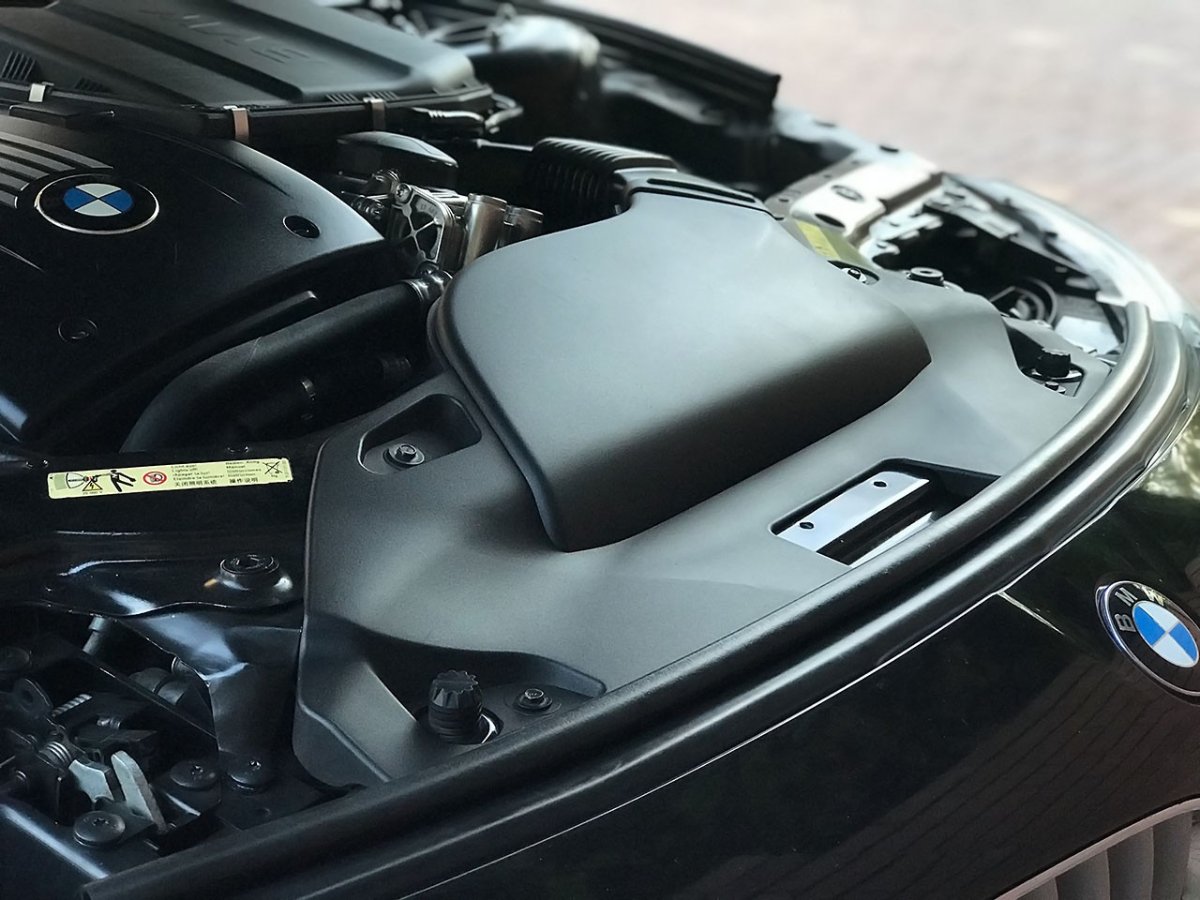
- img_e5607_9404200301.jpg (154.75 KiB) Viewed 1834 times

- img_e5606_589966378.jpg (135.87 KiB) Viewed 1834 times

- img_e5604_2723209843.jpg (149.49 KiB) Viewed 1834 times

- img_5599_2599471095.jpg (198.78 KiB) Viewed 1834 times
Engine bay is almost there now. Few more little things I want to take care of.