And so my car audio bug didn't stop at the aftermarket head unit.
I just upgraded the front stock speakers to Focal Flax three way to make the zeddy sound more SQ-ish.
Unfortunately didn't have the time to take pictures of the install. Only the finished product (which will be posted later today). But here's a step by step procedure on how to change your speakers:
1. look for a suitable aftermarket speaker, i chose Focal for its high sensitivity rated speakers. Though i'm accustomed to the signature sound of morels in my other cars, the morel is a no go since they're power hungry speakers. I had to go with Focals even if they're on the brighter sounding signature sound which is opposite of morels.
2. make sure the speakers fit in your stock locations. this was a must for me, as i do not want to mod the zeddy too much.
3. start with the hardest, the mid range speakers; our stock speaker is a 4 ohm 4 inch philips speaker mounted in the door panel via 3 sockets. since the focal is a 3 inch speaker with 4 mounting holes, i had to make a spacer. car audio shops can do these mdf spacers in less than an hour, so that's what i did. i sandwiched the focal mid range in between the door panel and the spacer i had custom made and re bolted the stock sockets screws. had no choice but to cut the stock speaker connector, and directly screw in the wires in the focal mid range. for door panel removal instructions, just youtube bavsound's video on how to remove the door panel. its the easiest instructions to follow.
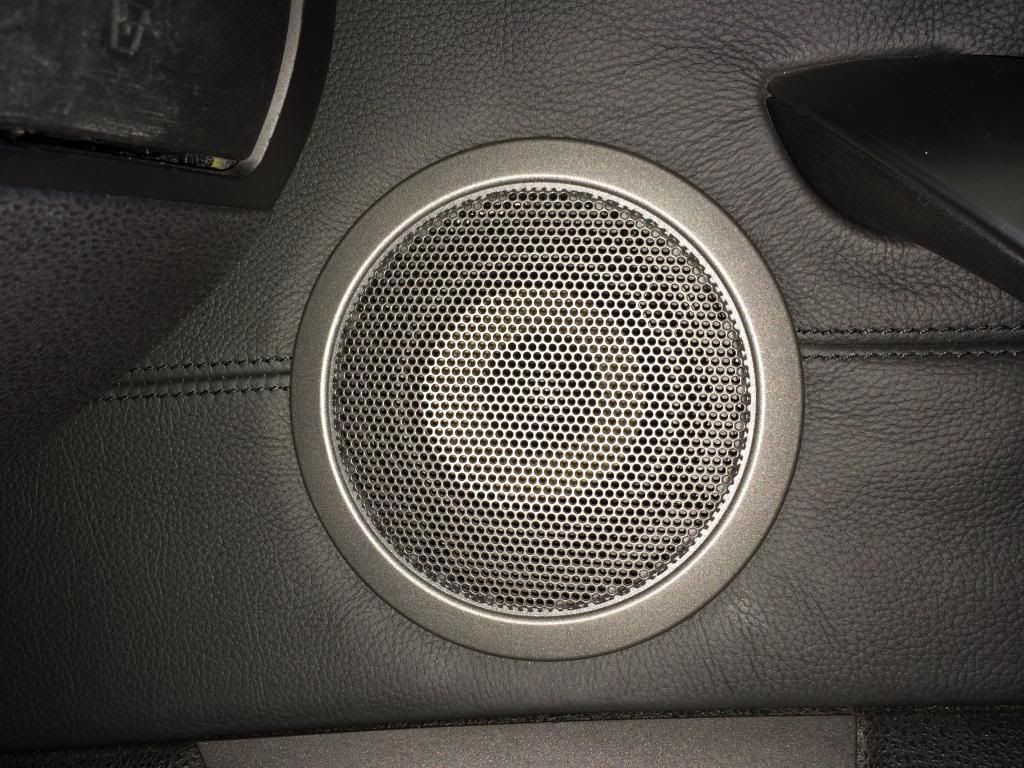
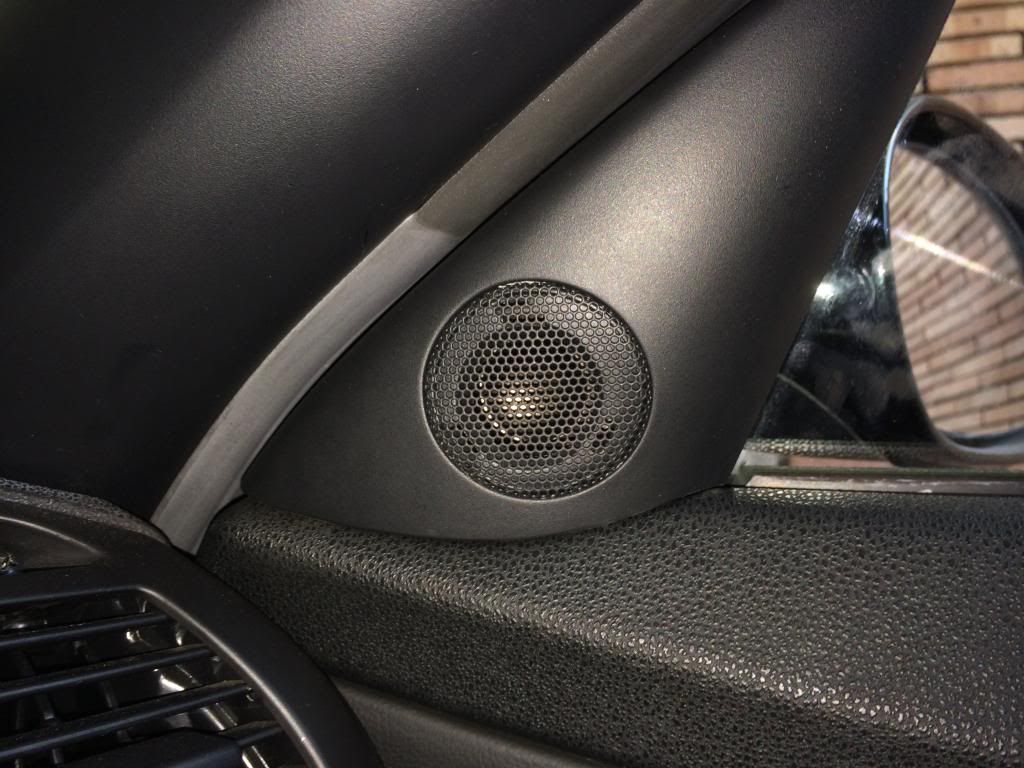
4. while you're at the door, just simply remove the tweeter sails by pulling it. video can also be found at bavsound's youtube channel. i had to remove the plastic tabs that hold the stock tweeter in place. our stock tweeters are also 4 ohms and just held by plastic tabs and lots of glue. so i just siliconed and butyl taped the tweeter in place. soldered a 2.2 KHz capacitor on the positive wire and reconnected using factory speaker tab.
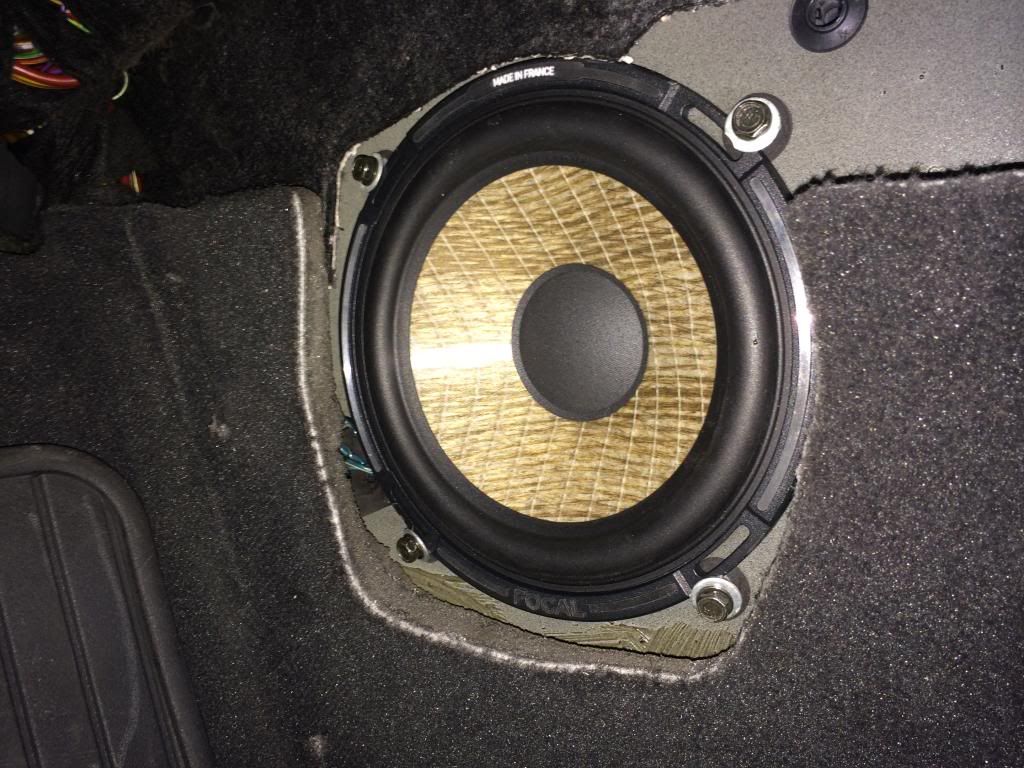
5. for the mid bass woofer, remove door sill plastic trim by pulling it off, remove a philips screw at the base of the speaker trim underneath the door sill trim. remove driver's and passenger's under dash cover (3 philips screws for driver side and 2 for passenger side)
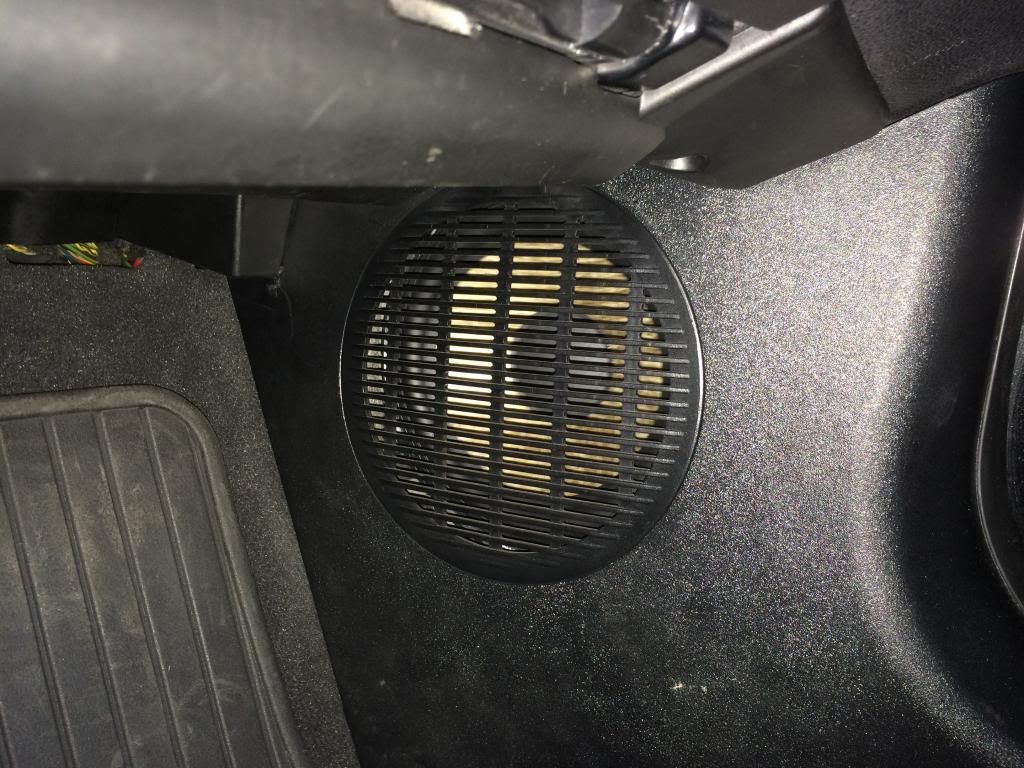
6. now you can remove speaker cover by pulling slowly but hard. remove the 2 ohm 4 holed stock speaker made by philips. cut factory speaker plugs and solder in your new woofer terminals. mount new woofer in factory location by just adding big washers to hold the speakers in place and re screw all four sockets.
7. make sure not to throw your old speakers and their factory connectors in case you want to change back to stock when its time to sell, its easily re connected by just soldering the wires.
pretty easy install about 4 hours.
the initial difference in sound is BIG. though the woofers on the Focal only play until 50 Hz, the bass is faster, more accurate, and louder than the stock. i had to cut 80 to 100 Hz in the EQ just not to make the car sound boomy. the highs are definitely much much more detailed than stock. but i needed to boost the highs a bit. Overall these focal sounded not as bright as the other Focal polyglass and kevlars I auditioned where your ears would get fatigued just 30 mins in your drive. They are much similar to the warm sounding morels that i like and i have in my other cars.
overall, if you want the biggest jump in performance of your audio system. just change to an audiophile headunit or at least a tunable headunit and change to a three way speaker of your liking. definitely an aftermarket amp is not needed to make the sound quality even better (plus too much trim removal and rewiring). the stock locations of the speakers are pretty great already. if you want louder, bass shaking sound though definitely you need aftermarket amp, maybe get morel elates as those can play up to 30 Hz so you won't need subwoofer.
time to

with the top down and listening to tunes